Bulk Update Devices
Bulk Update Devices edits devices you already have from a CSV. Every row is matched to an existing device by its asset tag, so you only include the columns you want to change, with no model ID and no re-importing the whole device. Upload the file, map your columns, review a full preview, then confirm.
This is different from Bulk Device Import, which creates devices and needs each device's model. Bulk Update Devices only touches devices that already exist, and changes just the fields you provide.
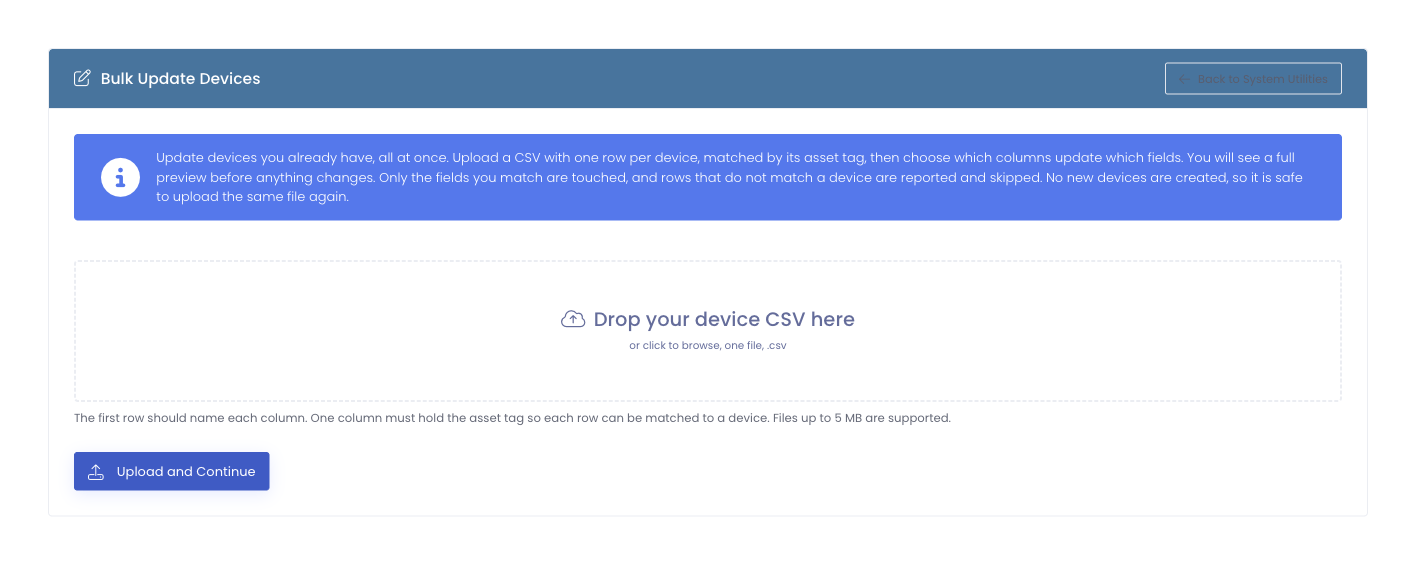
Uploading and previewing only shows you what will happen: how many devices will be updated, any values that don't match (an unknown building or status), and any rows that will be skipped because their asset tag matched no device. Nothing is written until you confirm on the preview screen.
Moving devices to a new building
The most common use is reassigning a set of devices to a different building, for example when a cart of Chromebooks moves to another school. You do not need the model ID for each device: a two-column CSV is enough.
| Asset Tag | Building |
|---|---|
| CB-1024 | Lincoln Elementary |
| CB-1025 | Lincoln Elementary |
| CB-1026 | Lincoln Elementary |
Upload that, map the two columns, and every matching device moves to the named building. The building is matched by its name or SIS ID, so the value just has to match a building you already have.
What you can update
Include an Asset Tag column (used to find each device) plus any of the columns you want to change. Leave a cell blank to leave that field untouched.
| Column | What it sets |
|---|---|
| Asset Tag | Matches the device to update (required) |
| Building | Moves the device to this building |
| Status | The device's status |
| Department | The device's department |
| Loaner | Whether the device is a loaner (yes / no) |
| Loaner Number | The loaner number |
| Warranty Start / End / Notes / Source | The device's warranty details |
A blank cell is never treated as "clear this field"; it is simply skipped, so a CSV that carries only asset tag and building changes only the building.
How to use it
- Go to Settings → System Utilities → Devices tab and open Bulk Update Devices.
- Prepare your CSV with an asset-tag column and the columns you want to change.
- Drag and drop the file onto the upload area (or click to browse).
- Map your columns: Manage1to1 matches common header names automatically (for example Asset Tag, Barcode, Building, School); adjust any that didn't line up.
- Preview the update. This writes nothing yet.
Reviewing the preview
The preview summarizes exactly what confirming will do:
- Update: devices that matched an asset tag and will have the mapped fields changed.
- Unmatched: rows whose asset tag matched no device; these are reported and skipped, never created.
- Errors: rows with a value that could not be resolved, such as a building or status name that doesn't exist.
Fix anything that looks wrong in your CSV and re-upload, or confirm to apply the changes. Every change is written to the Activity Log.
Tips
- To move devices between buildings, a CSV of just Asset Tag and Building is all you need.
- Only the columns you include are changed, so you can safely reuse one export and edit a single column.
- Use the building's name or SIS ID in the Building column; the match is case-insensitive.