Receiving Transfers
A two-step transfer is not finished until someone at the destination opens it and clicks Receive Transfer. Only then do the devices on the manifest get reassigned to the destination building.
Finding Transfers to Receive
A few ways to land on the right transfer:
-
Warehouse widget on the dashboard — shows the current in-transit count and the count pending dispatch. Click the In Transit tile.
-
Warehouse → In-Transit — the canonical list of every active transfer, grouped by technician.

-
Warehouse → Transfers — the full transfer history. Filter by status to find a specific shipment.
Reviewing the Transfer
Click any in-transit transfer to open the detail page.
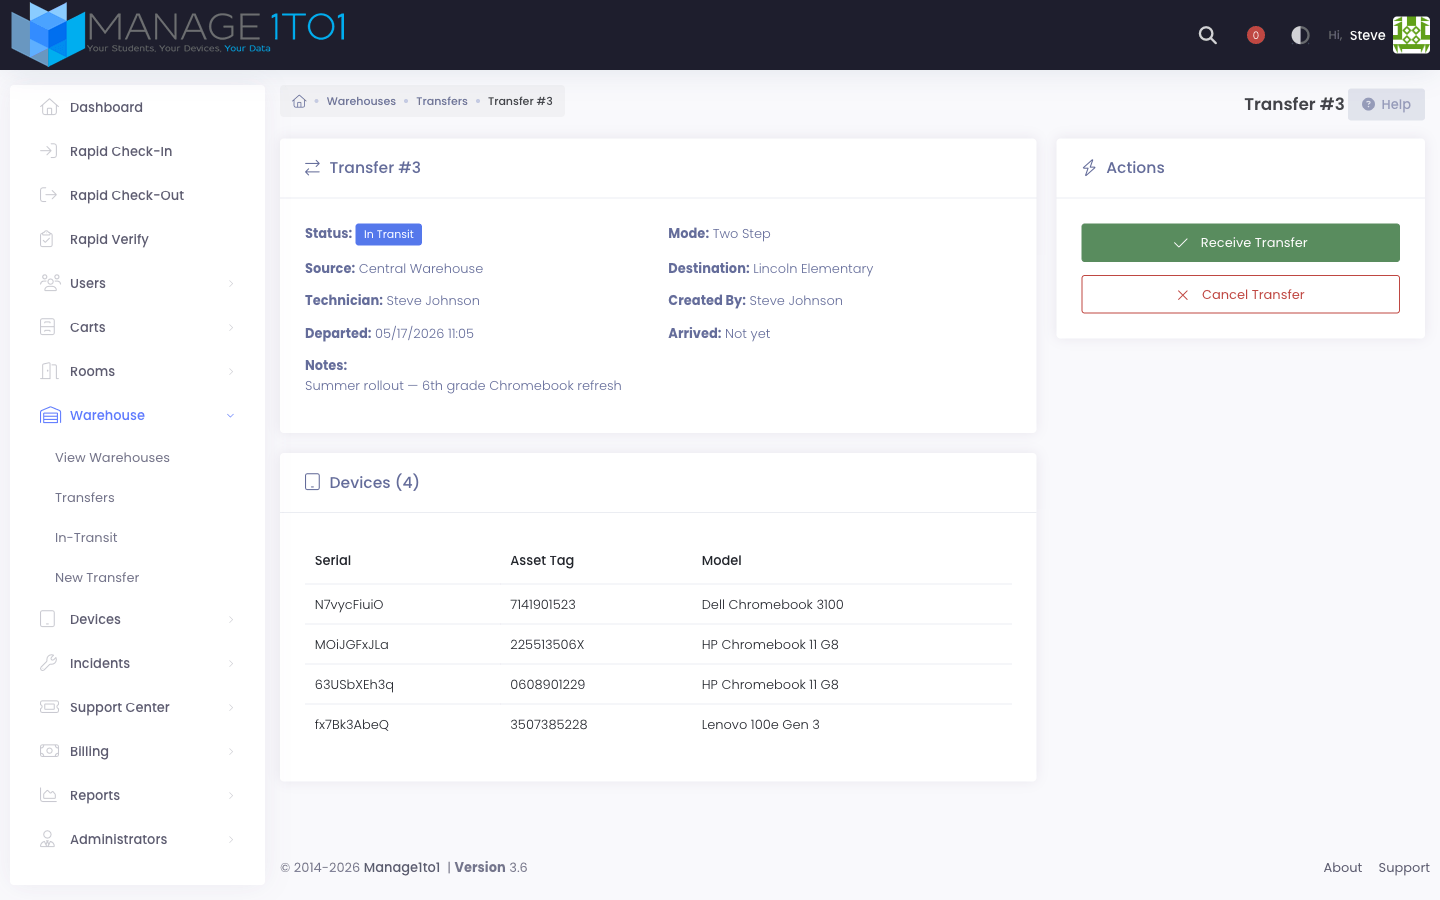
Before you click Receive, sanity-check:
- Source and Destination are what you expected.
- Mode is Two Step (single-step transfers can't be received — they were marked delivered at create time).
- Devices — the manifest matches what physically arrived. If a device on the manifest didn't arrive, contact the source technician before receiving.
- Notes — any context the source admin left for you.
Clicking Receive
Click Receive Transfer in the Actions card. A confirmation dialog opens:
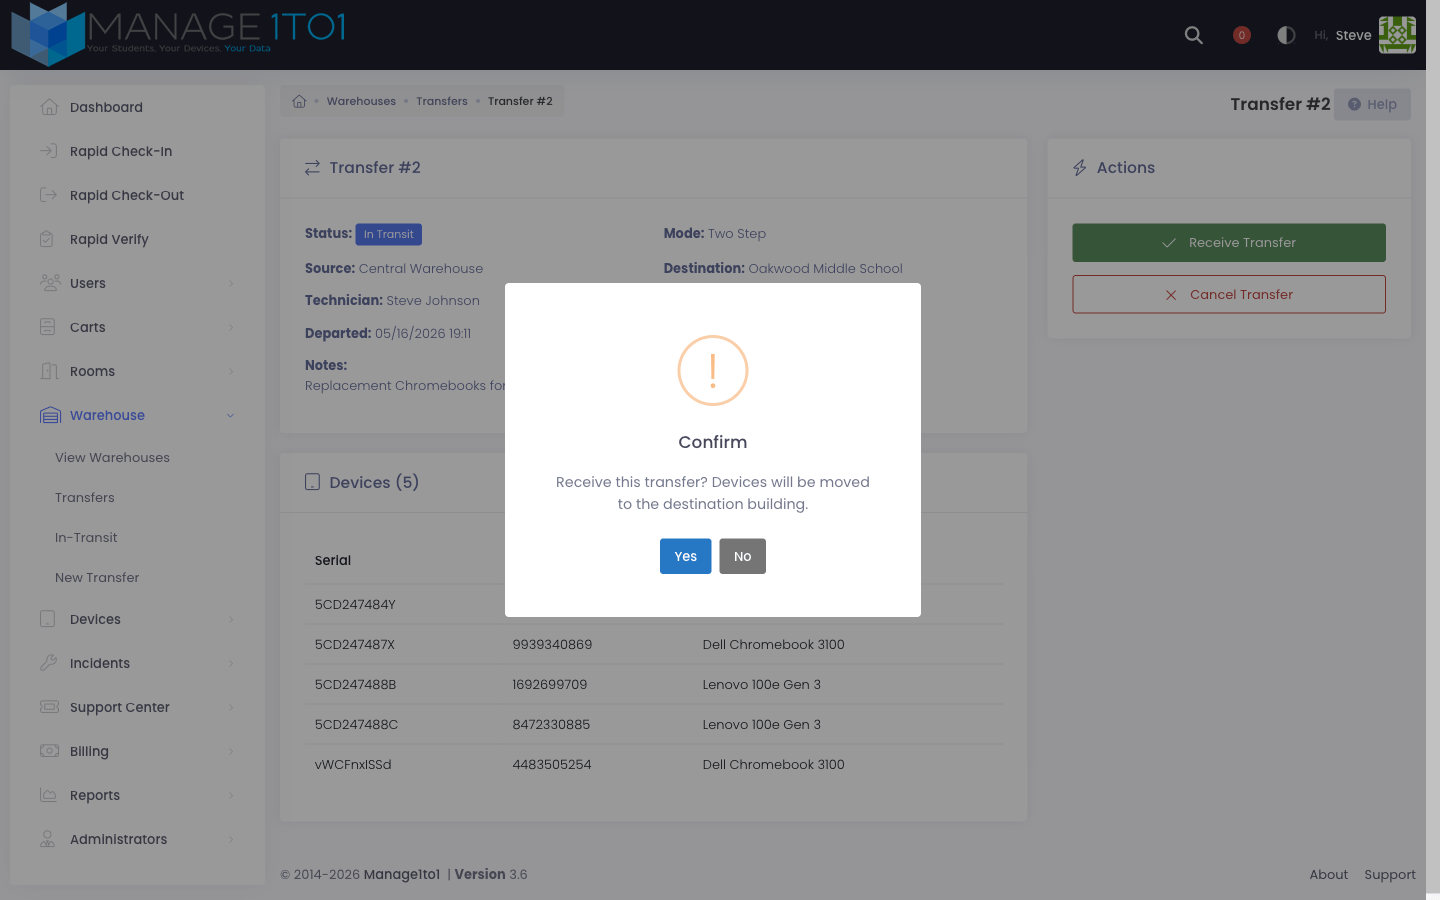
Click Yes. If your district requires a Receipt Signature (configured under Settings → Inventory Settings → Warehouse), the signature pad opens — capture it before the receipt can complete.
After Receipt
Once received:
- The status badge flips to Delivered (green).
- The Arrived timestamp is stamped to the receive time.
- Every device on the manifest is reassigned to the destination building.
- Devices become available for check-out if the destination is a school.
- The action sidebar replaces the Receive / Cancel buttons with a Transfer completed confirmation message.
Signature Record
If a signature was captured, the delivered transfer keeps it on file. A Signatures panel on the transfer detail lists each signature — the signer role (staff, student, parent, or admin), their typed name, the date and time signed, and the IP address it was signed from. Click a signature thumbnail to view it full size.

Cancelling a Transfer
If the transfer should never have been created (typo, plans changed, devices didn't actually leave the source), use Cancel Transfer in the Actions card. Cancellation is allowed while the transfer is Pending or In Transit — once a transfer has been delivered, it can't be undone.
Cancelled transfers stay in the transfer history for audit purposes. Devices stay at their current building assignment.
Once a transfer has been received (status Delivered), it can't be undone. If devices need to move back, create a new transfer in the opposite direction.
Transit Reminders
A cron task runs hourly and emails the assigned technician for any transfer that has been in transit longer than the configured threshold. Default is 48 hours — adjust under Settings → Inventory Settings → Warehouse → In-Transit Reminder.
The reminder helps catch transfers that got dispatched but never received — for example, when a technician marks a shipment in transit on a Friday afternoon, then forgets to receive it Monday morning.
Common Questions
Can I add devices to a transfer after it's been dispatched? No. Create a second transfer if more devices need to move on the same route — that way the audit trail stays accurate per shipment.
A device on the manifest never arrived. What do I do? Don't click Receive until you've reconciled with the source technician. If a device is genuinely lost in transit, cancel the original transfer and create a new one with just the devices that did arrive. Log a separate incident for the missing unit.
What happens to a cart's home if its building receives an incoming transfer? Nothing — receiving moves devices into the building, not the cart itself. Cart home stays where you set it.