Submitting a Ticket from the User Portal
The User Portal is the end-user-facing side of Manage1to1 — the page students and staff see when they sign in to view their own checkouts, AUP, and tickets. (It's distinct from the admin area that technicians and administrators use to manage the system.)
When a user files a support ticket from the User Portal, they're walked through a short wizard that helps technicians route and resolve the request faster. One of the steps is picking the specific device the ticket is about — and for staff who have a whole cart of devices checked out, that picker now drills down to the individual cart slot.
This page covers what users see in the Select Your Device step.
When the Step Appears
The device step appears automatically when the user has any active checkouts at the time they open a ticket — direct device leases, cart leases, or both. Users with no active checkouts skip this step.
Direct Device Tiles
For devices issued directly to an individual (a staff laptop, a student's daily Chromebook), each lease shows up as its own tile with the serial number and asset tag.
The user picks the device the ticket is about and clicks Next Step.
Cart Checkouts
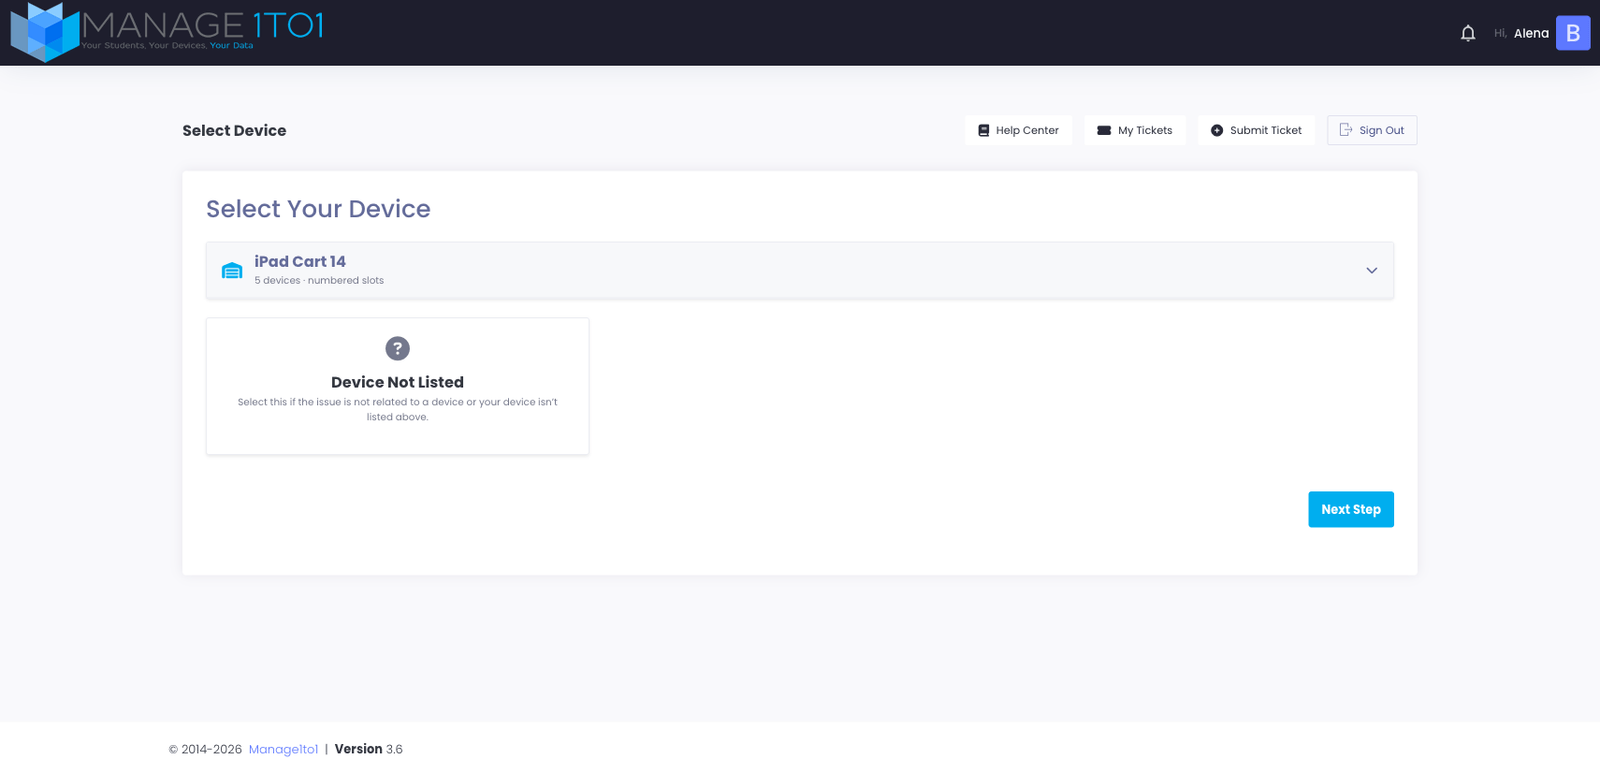
When a staff member has an entire cart checked out — for example, a Vivacity cart of 30 Chromebooks for their classroom — that cart shows up as a single tile listing the cart name and the number of devices in it.
Clicking the cart tile expands it to show every device inside the cart so the user can pick the specific one the ticket is about. For carts that use numbered slots, each device displays a colored Slot N badge alongside its serial and asset tag, matching the physical layout of the cart:
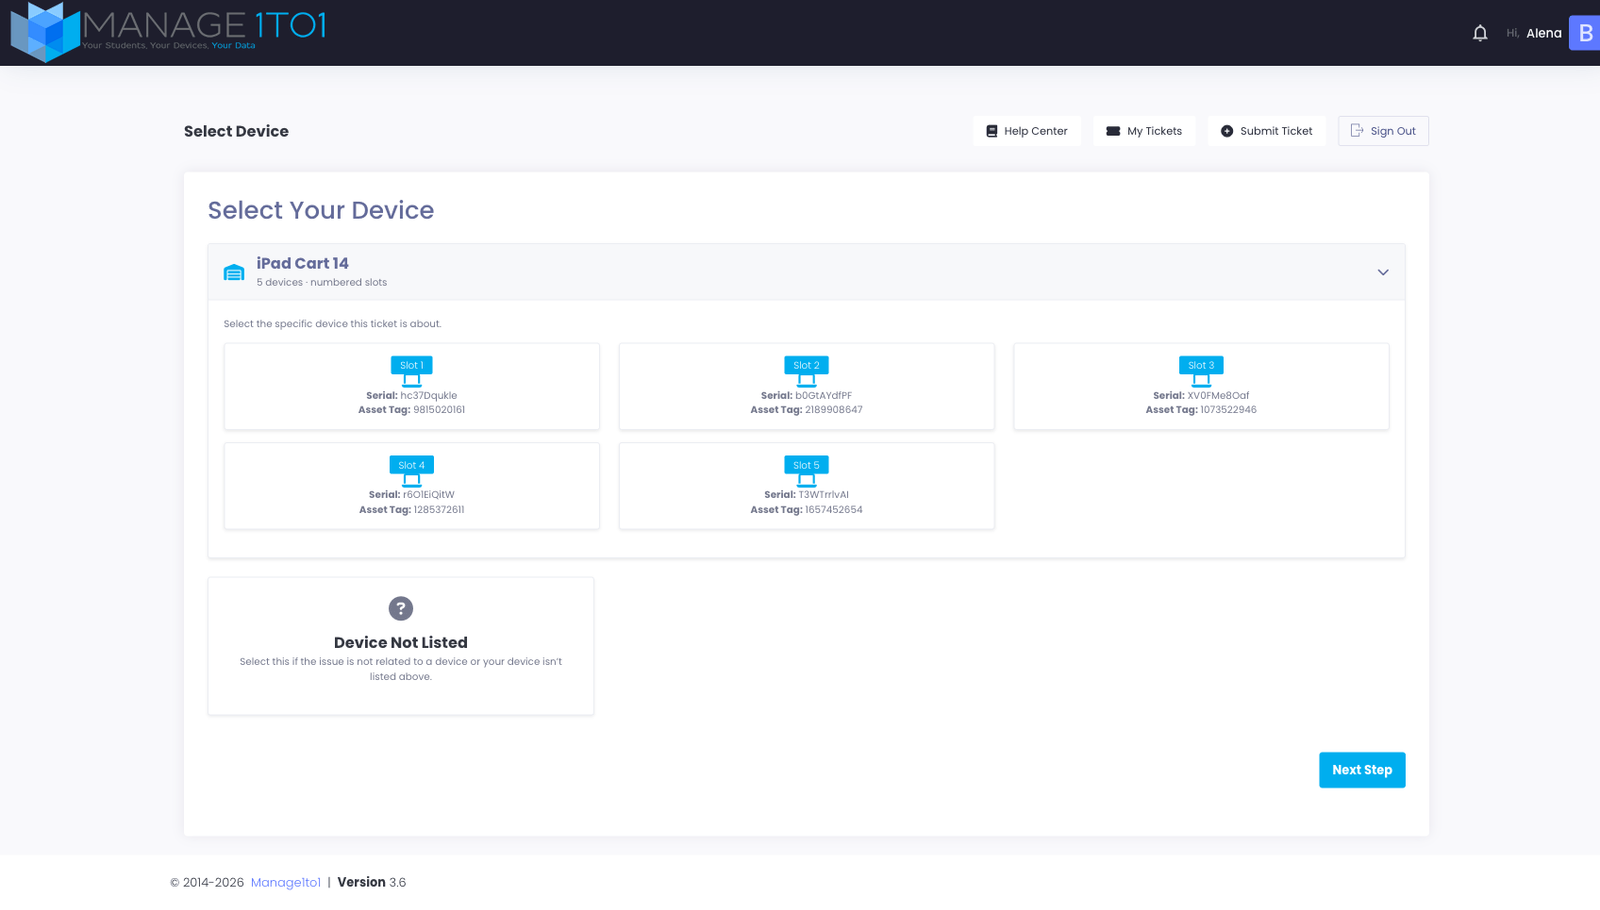
Selecting one of the devices and clicking Next Step attaches the ticket to that specific device, so the technician opens the incident knowing exactly which Chromebook needs attention — not just "something on Mrs. Smith's cart."
For carts that do not use numbered slots, the same drill-down appears but without slot badges; users pick by serial or asset tag.
Reporting on the Cart Itself
Sometimes the issue is the cart rather than a specific Chromebook in it — a broken hub, a scratched lid, missing keys, a wheel that won't lock. The first tile inside each expanded cart group is Cart itself, marked with a yellow badge:
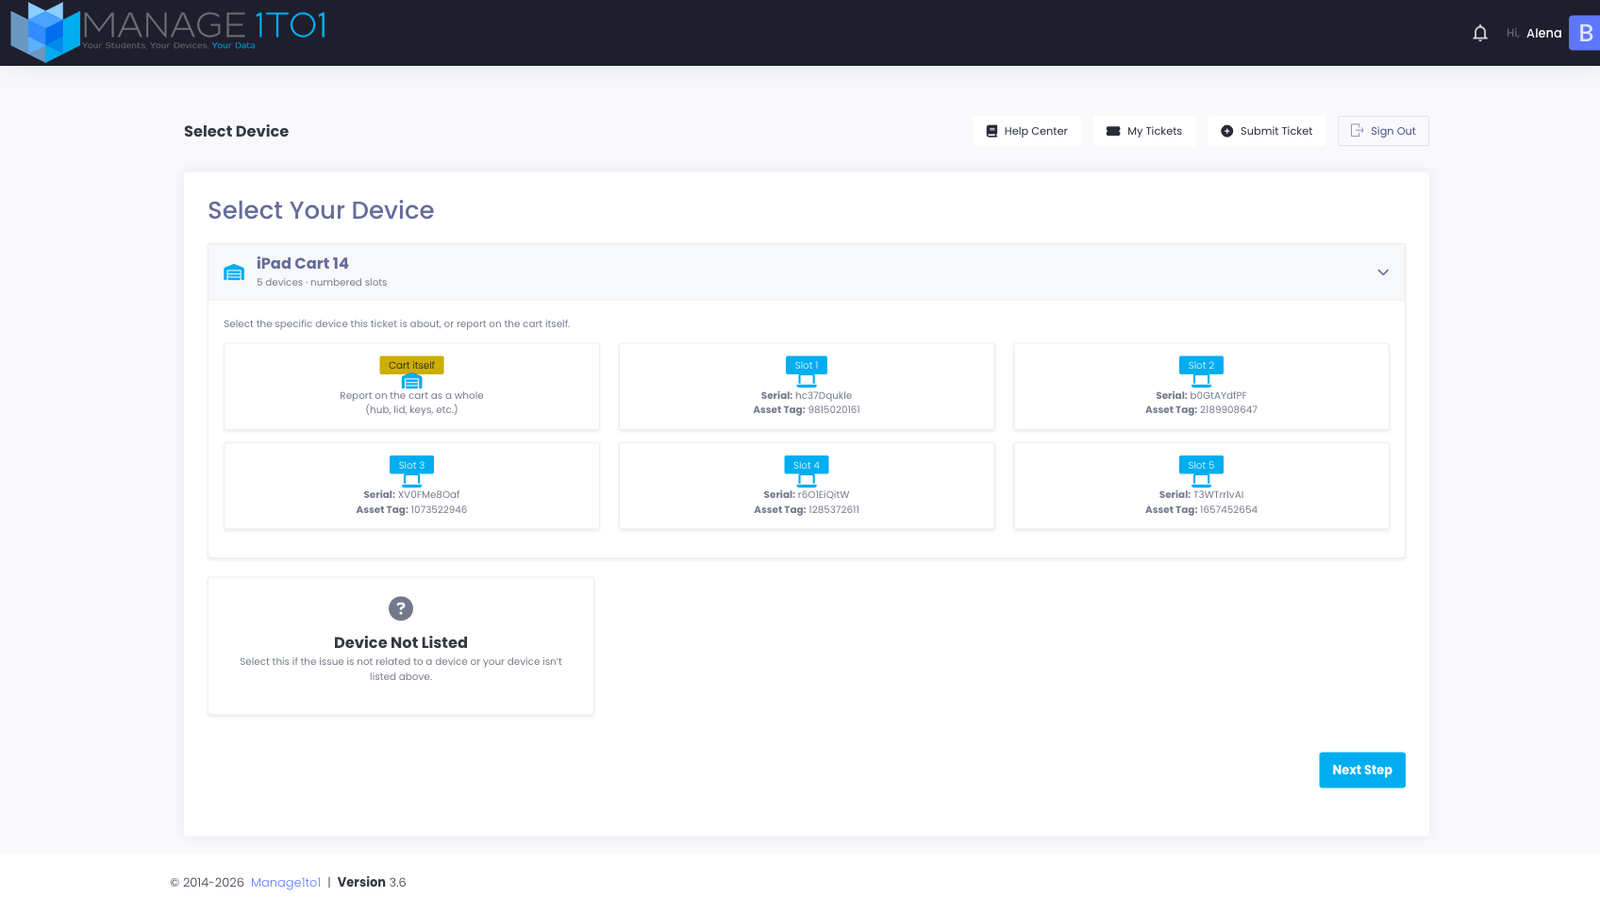
Selecting Cart itself attaches the ticket to the cart-checkout record rather than a single device. The technician viewing the ticket sees the cart name, who has it checked out, and when — a clear signal that this is a cart-level issue, not a single-Chromebook problem.
Permanently Attached Cart Accessories
Carts often have accessories bolted in for the long haul — charging hubs, fixed monitors, mounted cameras, soundbars. These aren't checked out to individual users from inside the cart; they live with the cart itself.
When the user expands a cart, devices like these appear below the slot devices in a Permanently Attached subsection. Each is marked with a yellow Fixture badge so it reads distinctly from a regular checked-out device:
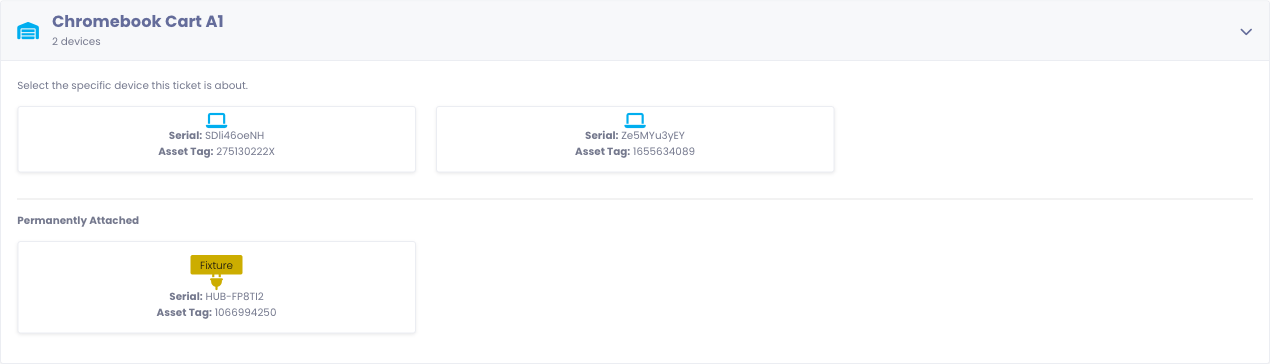
Selecting a fixture and clicking Next Step attaches the ticket directly to that accessory, so a "charging hub won't power on" report routes against the hub — not the cart, not a random Chromebook in the cart.
Rooms You Manage
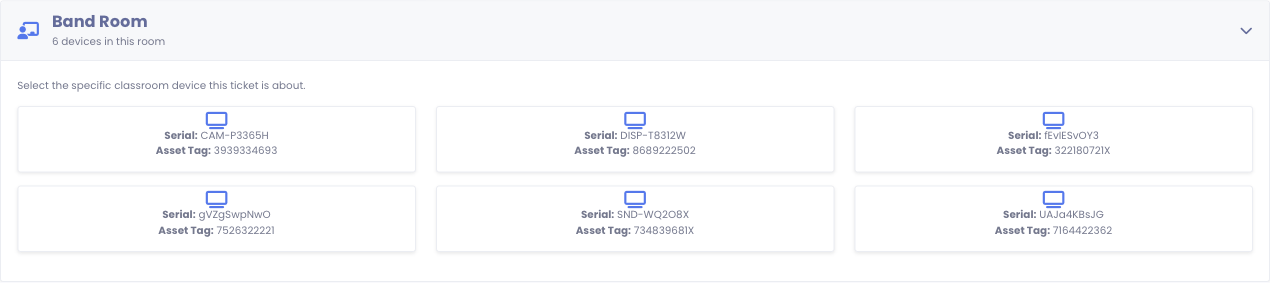
For staff who are responsible for a classroom or shared space, the picker shows a Rooms You Manage section listing every room the user is currently the teacher-of-record for. Each room is its own collapsible group, and inside each group are the devices that live in that room — interactive displays, classroom projectors, conference-room desktops, anything physically located there.
This is the right path for tickets like:
- The projector in Room 204 won't power on
- The interactive display in the library has a dead spot
- The conference-room camera disconnects mid-meeting
These devices aren't checked out to the staff member personally — they belong to the room — but because the staff member is on record as the responsible party for that space, they can file a ticket against the specific device. The technician then opens the incident with the device's serial, asset tag, and physical location already filled in.
The section is hidden entirely if the user has no current room responsibilities, so the picker stays uncluttered for students and floating staff.
Device Not Listed
If the issue isn't about a device — a network problem, an account problem, a question — the user picks Device Not Listed and the ticket is filed without a device attachment.
Tips for Users
- Pick the most specific match. A device-level ticket lets the technician check device history, related incidents, and the right MDM record automatically.
- Use the slot number if you can see it. Cart slots are labeled on the physical cart; matching the label to the ticket cuts a step off the technician's diagnosis.
- Pick "Device Not Listed" only when it really isn't a device issue. If you're unsure, pick the device anyway — technicians can change the attachment later.