Setting Up Warehouses
There are three steps to going from "no warehouse" to "live warehouse with active transfers": enable the module, configure the feature, then create your first warehouse.
1. Enable the Warehouse Module
The master switch lives under Settings → Modules. The Warehouse tile is on by default — flip it on if it's been disabled, and the warehouse section of the admin (sidebar entry, settings tab, Smart Rule integration) appears.
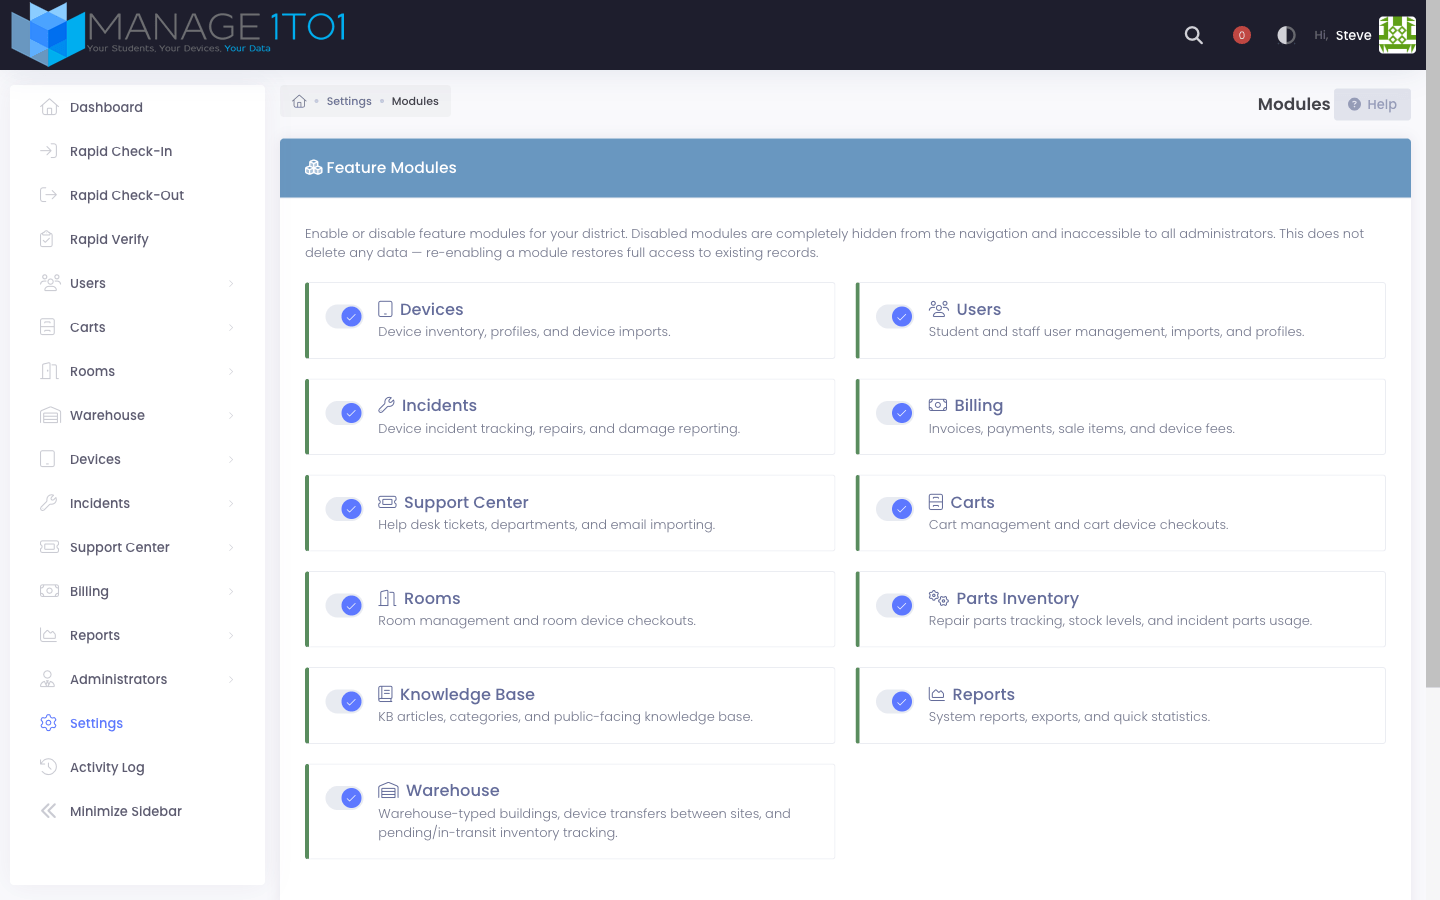
When you re-enable the module, every saved warehouse, transfer, and rule comes back exactly as it was. Disabling the module hides the UI without deleting data.
2. Configure the Feature
Once the module is on, the Inventory Settings page picks up a new Warehouse tab.
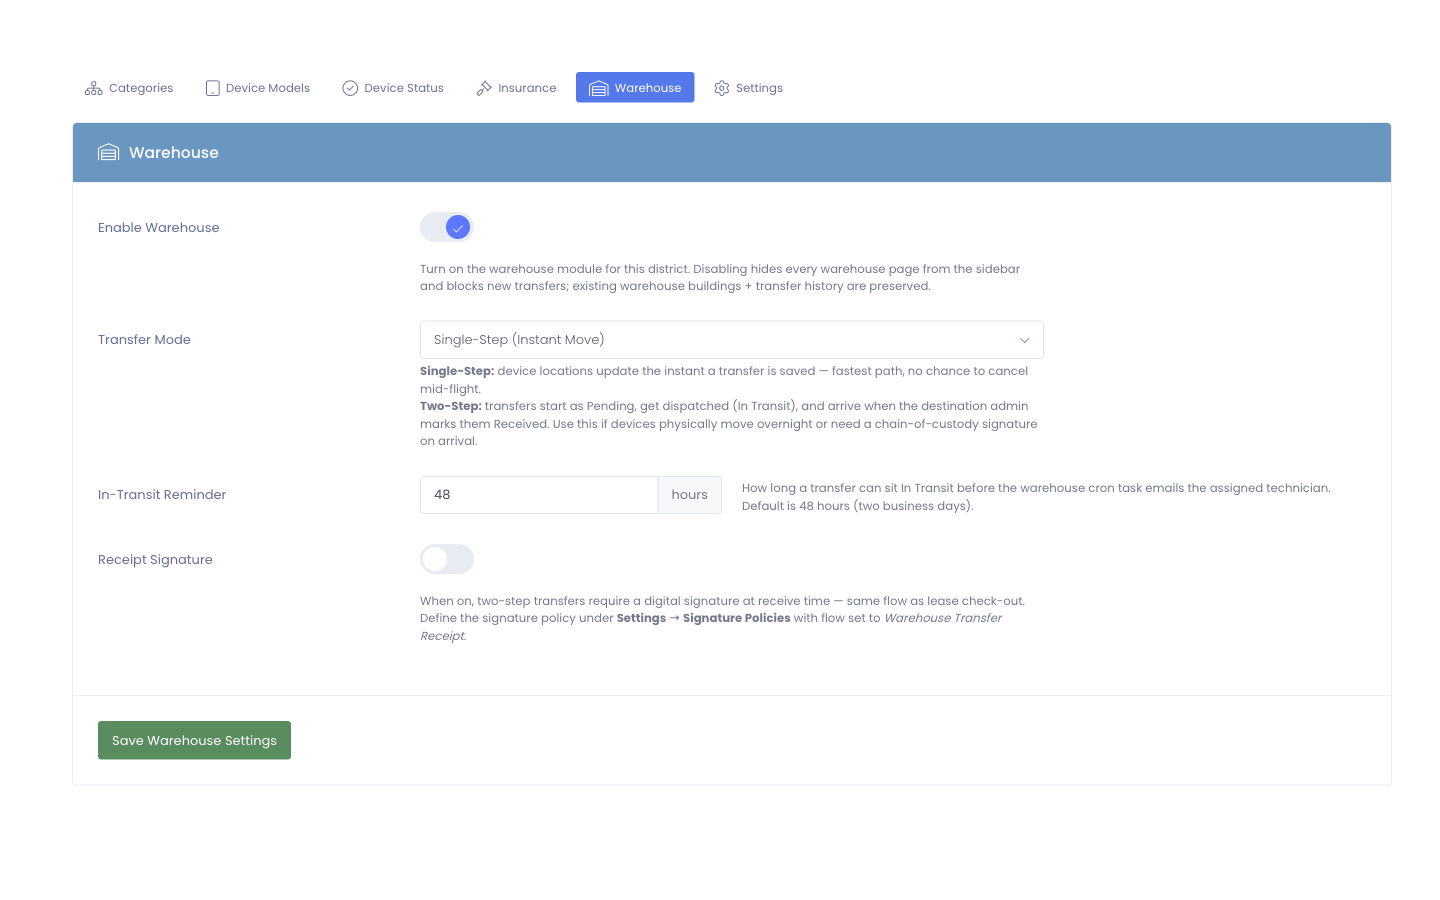
- Enable Warehouse — the on/off switch for the feature itself. Disabling here pauses transfers and hides the warehouse pages without removing data.
- Transfer Mode — pick the default:
- Single-Step (Instant Move) — fastest path. Transfers are created, dispatched, and delivered in one save.
- Two-Step (Dispatch, Then Receive) — pending → in transit → delivered. Use this when devices physically move overnight or need a chain-of-custody signature on arrival.
- In-Transit Reminder — how long a two-step transfer can sit in transit before the warehouse cron task emails the assigned technician. Default is 48 hours (two business days).
- Receipt Signature — when on, two-step transfers require a digital signature at receive time. The signer is taken from the signature policy you define under Settings → Signature Policies with flow set to Warehouse Transfer Receipt.
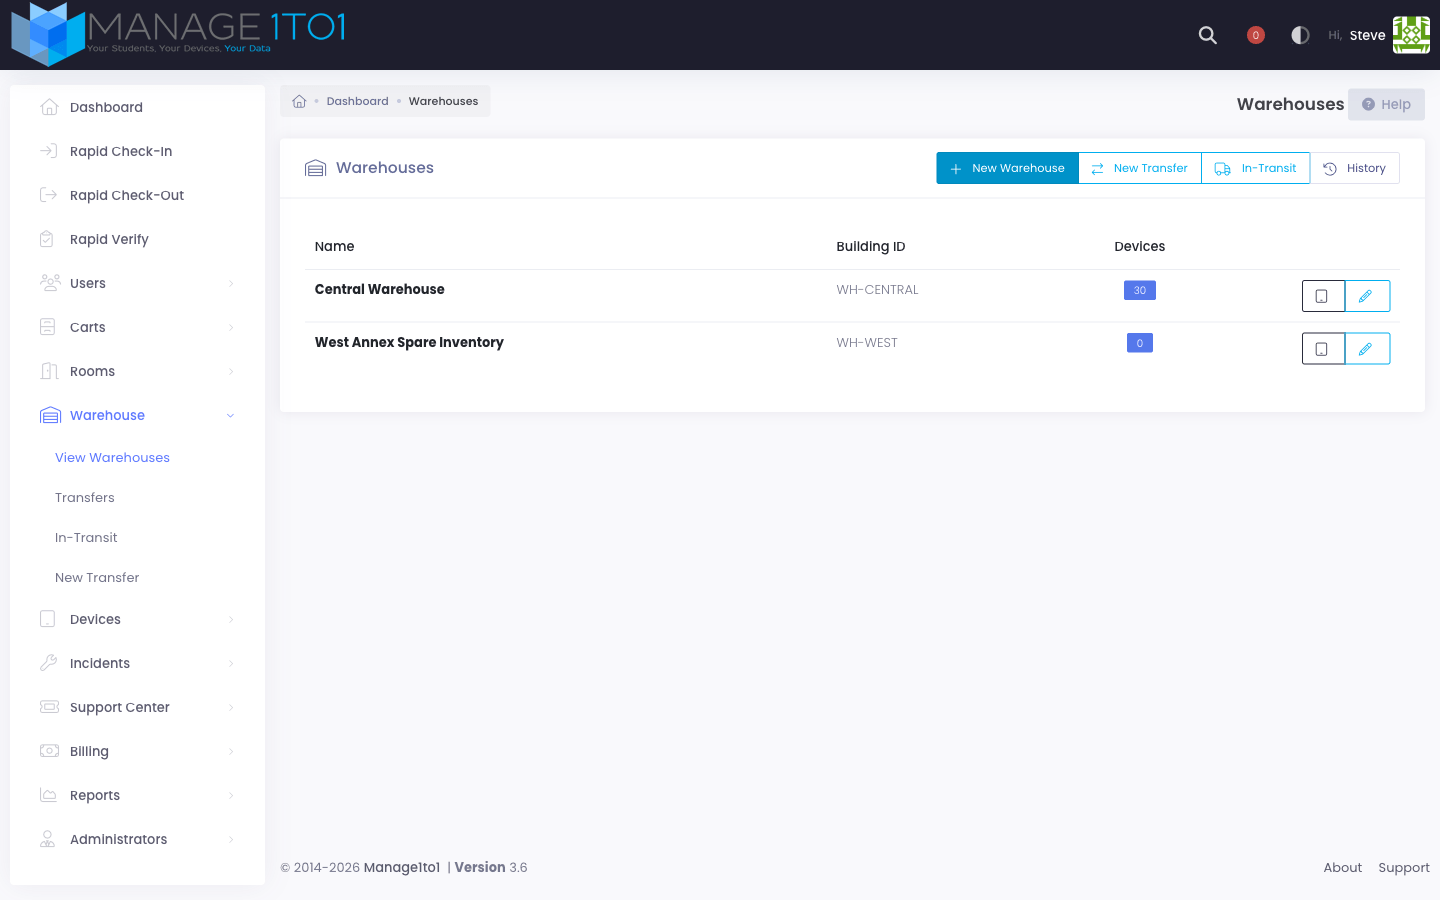
3. Create Your First Warehouse
Go to Warehouse → View Warehouses and click + New Warehouse in the toolbar.
A modal opens for the warehouse's name, ID, and optional address:
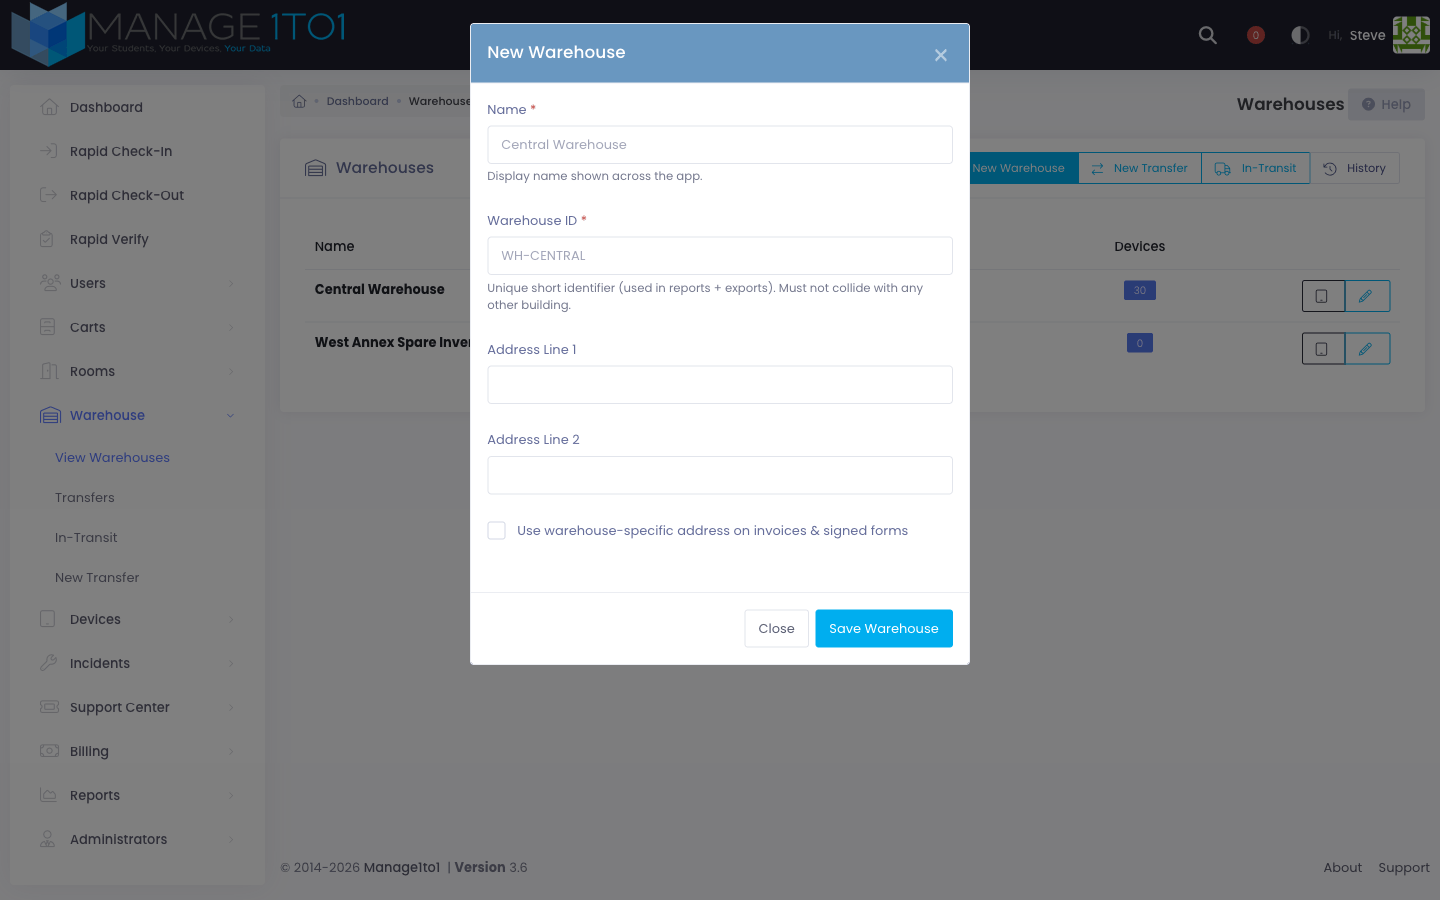
- Name — display name (e.g., "Central Warehouse", "Spring Rollout Staging").
- Warehouse ID — short identifier used on reports and exports (e.g., "WH-CENTRAL"). Must be unique across all buildings.
- Address Line 1 / 2 — optional.
- Use warehouse-specific address on invoices & signed forms — when on, this warehouse's address overrides the district default on any invoice scoped to it.
Click Save Warehouse. The new warehouse appears in the list immediately with a device count of zero, ready to receive its first transfer.
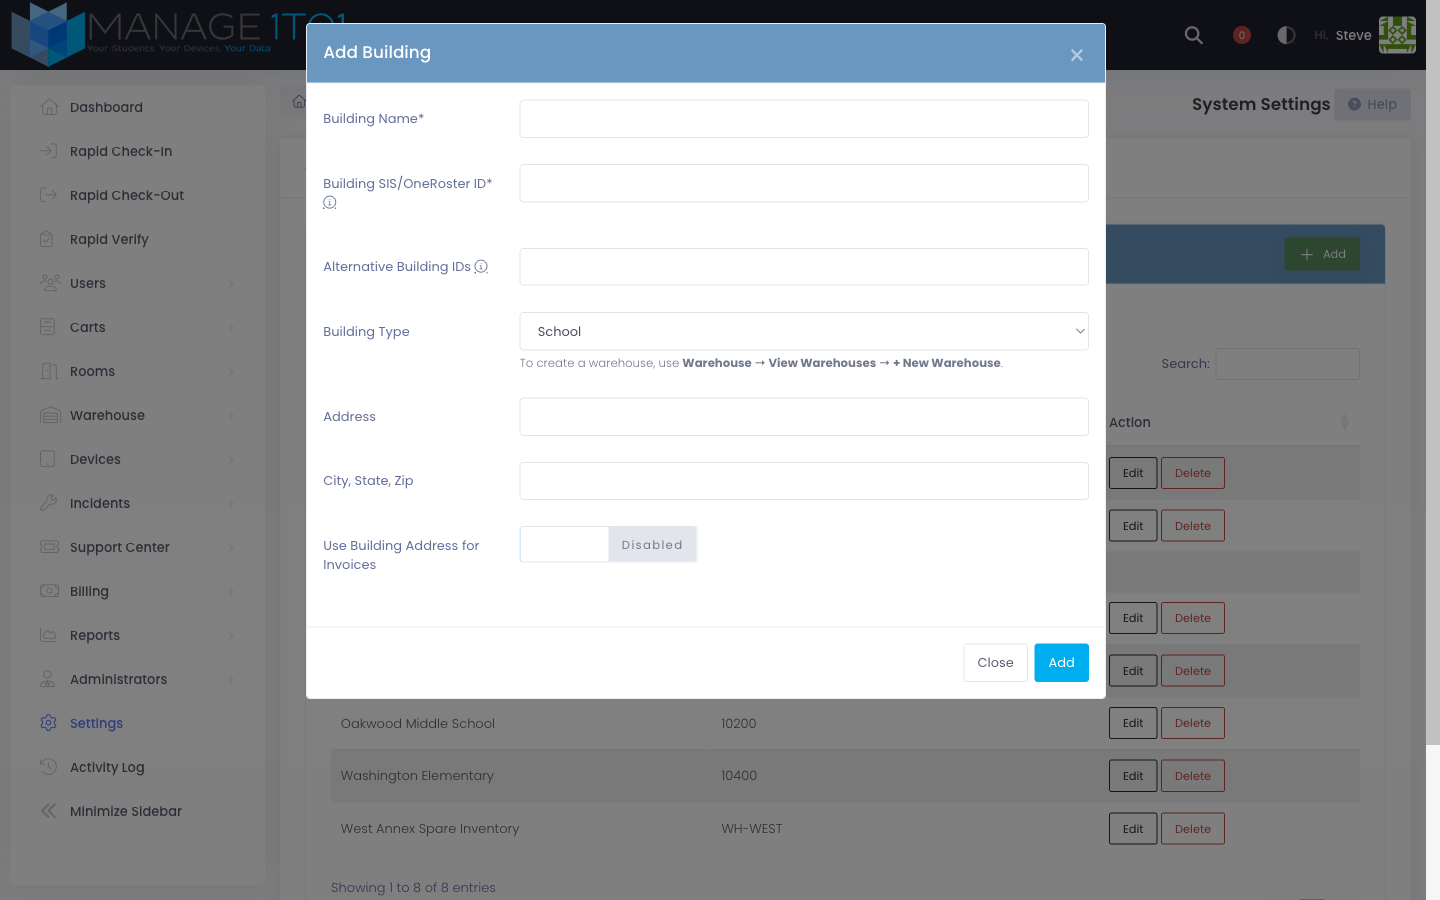
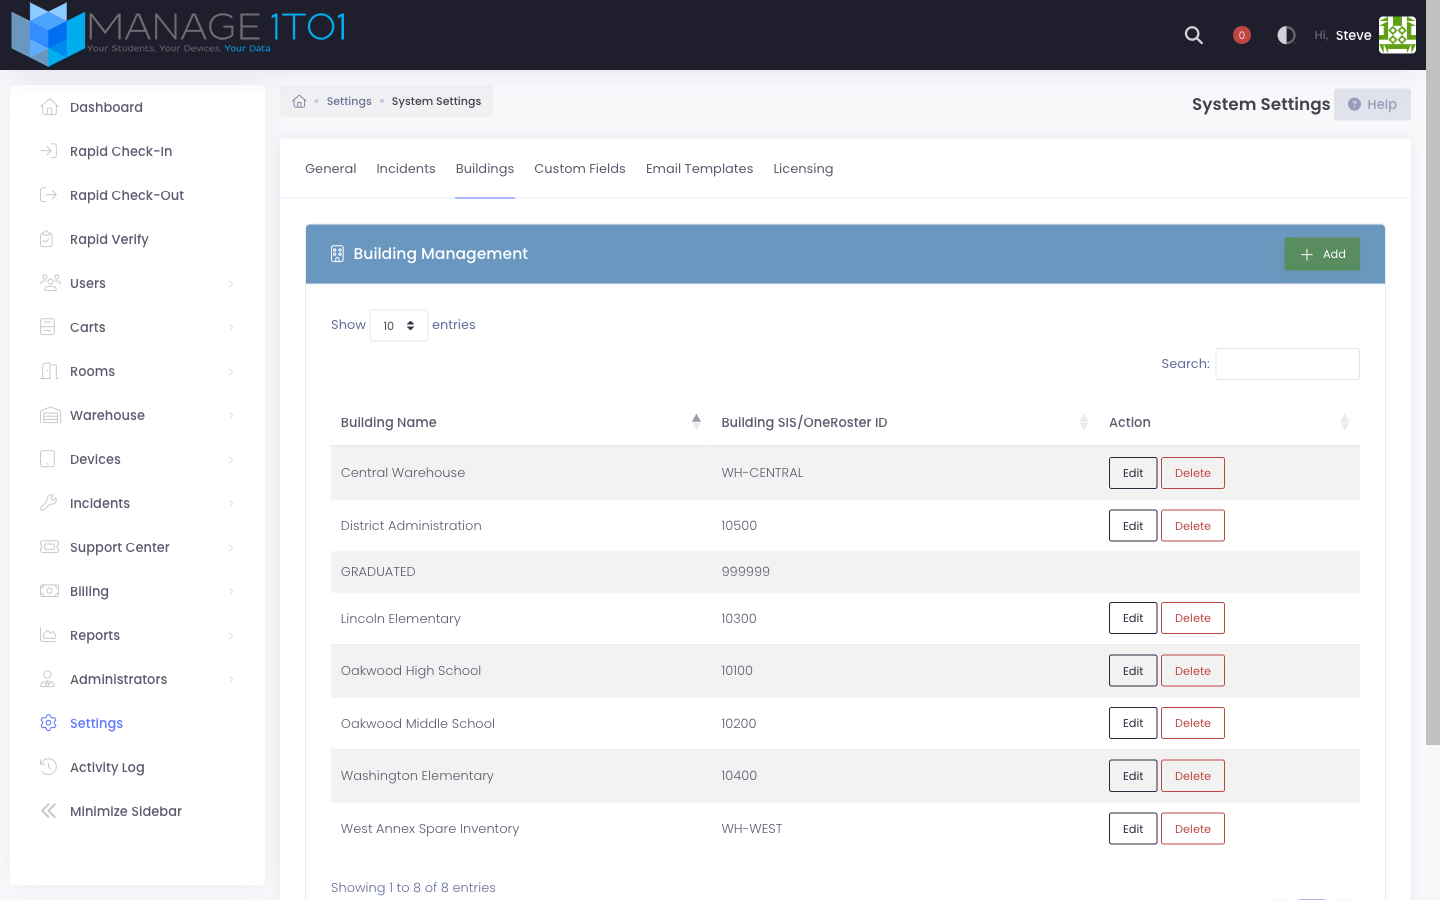
When you create a new building under Settings → System Settings → Buildings, only the School option is available — warehouses are created from the Warehouses page so the operator lands on a UX tuned for inventory storage.
Converting an Existing School to a Warehouse
Need to repurpose an existing school as a stockroom? Edit the building under Settings → System Settings → Buildings and change its Building Type to Warehouse.
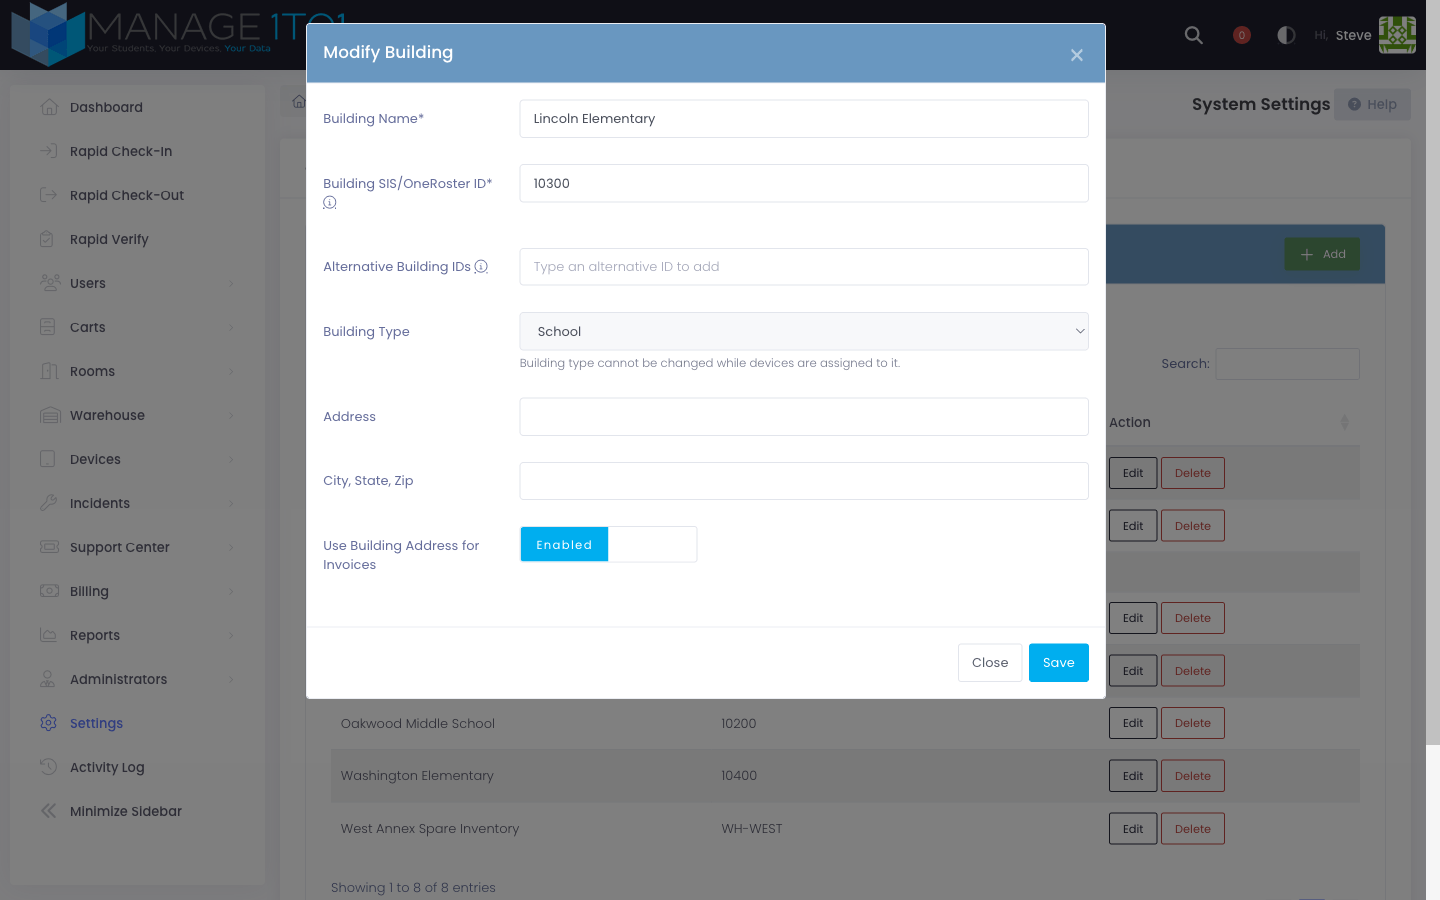
A building can only have its type changed when no devices are currently assigned to it. Transfer or reassign every device out of the building first, then come back to flip the type. The Building Type dropdown is disabled (greyed out) while devices are attached, with a reminder message explaining why.
If you do flip a school to a warehouse, any students or staff currently assigned to that building must be moved first — students and staff can't live at a warehouse. Reassign them under Users → User Profiles or via your next OneRoster sync before flipping the type.
Reminders + Cron
The Warehouse In-Transit Reminder cron task runs hourly. It scans every transfer that's been In Transit longer than the configured threshold and emails the assigned technician. You don't need to do anything to enable the reminder — it's wired automatically when the module is on.