There are several ways to add users to Manage1to1. Adding users can be done from the Users >> Add Users screen, by clicking on the Add Users button from the View Users section, or Manage1to1 makes it easy to add additional users with bulk and automatic options as well.
Manually Adding Users. (Users>>Add Users)
Manually Adding Users. (View Users>>Add Users)

Automated Updating
The most efficient way to add new users in Manage1to1 is via an automated import. Detailed instructions on how to do this can be found in the Automation & Imports section of the documentation.
Bulk Adding
Adding student users in bulk is easy. Simply go to the Settings >> System Utilities screen and supply a CSV file with your students.
Please review the section in our documentation for Bulk Student Import for full detailed instructions
Adding User Section
Expand the Users section of the left-hand menu and then choose Add User.
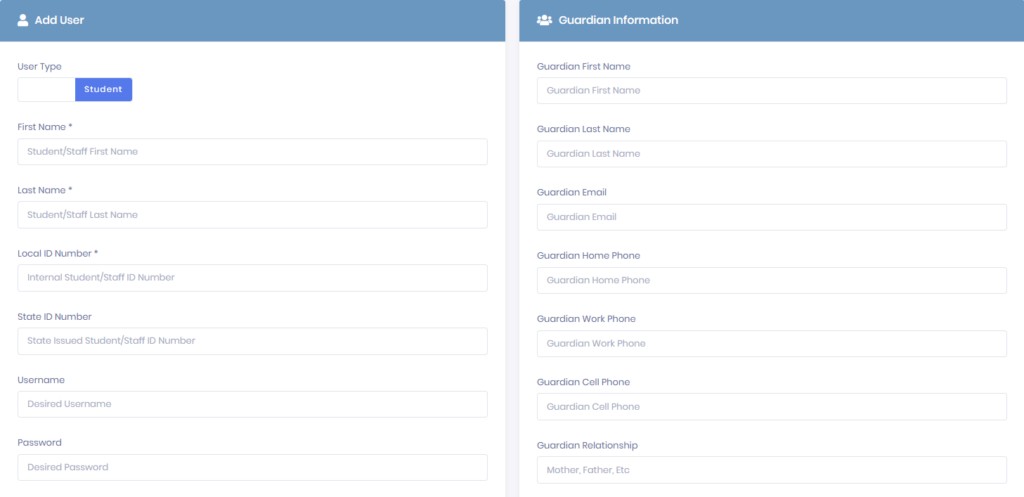
From this new screen, you will be able to add an individual user. Fields marked with an asterisk (*) are required. Below is an explanation of some key fields.
- User Type – Is the user you are adding a student or staff member? Choose the appropriate option here.
- Local ID Number – This is the internal ID number used to reference this user. (It should match your SIS records).
- State ID Number – (Optional) This is the number used by your governing body to manage the student.
- Username – (Optional) Enter the username you wish to assign for this user. If left blank, a username will be generated in the form of firstnamelastname
- Password – (Optional) Enter the password you wish to assign for this user. If left blank, a password will be generated.
- Email – (Optional) Enter the email address you wish to assign for this user. If left blank, the email will be generated in the form of username@domain.com
- Apple ID Username/Password/Unlock Code – (Optional) These fields only show up when enabled in the Settings page.


