
The Incident Settings tab allows you to manage the various incident statuses and incident flags that will help you organize and provide reports for your district.
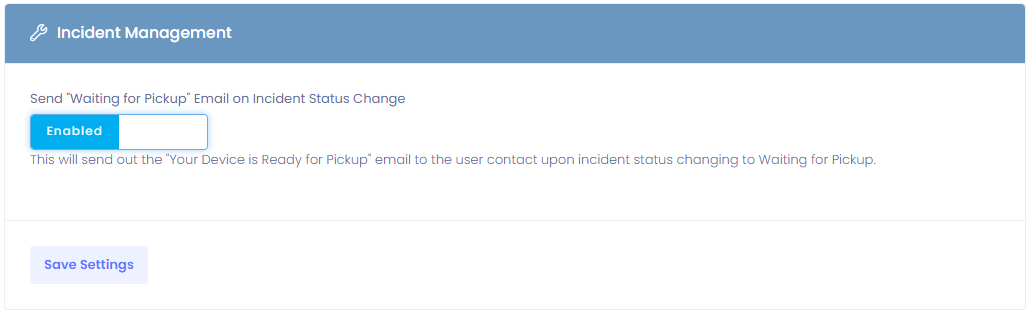
Incident Management
Send “Waiting for Pickup” Email on Incident Status Change
Enabling this option will send an email to the end user associated with the incident using the template “Your Device is Ready for Pickup”. This message can be customized in the Email Templates screen.
Incident Flags
Incident flags are utilized in incident taking and reporting. They can also be setup to have optional alerts associated with them.
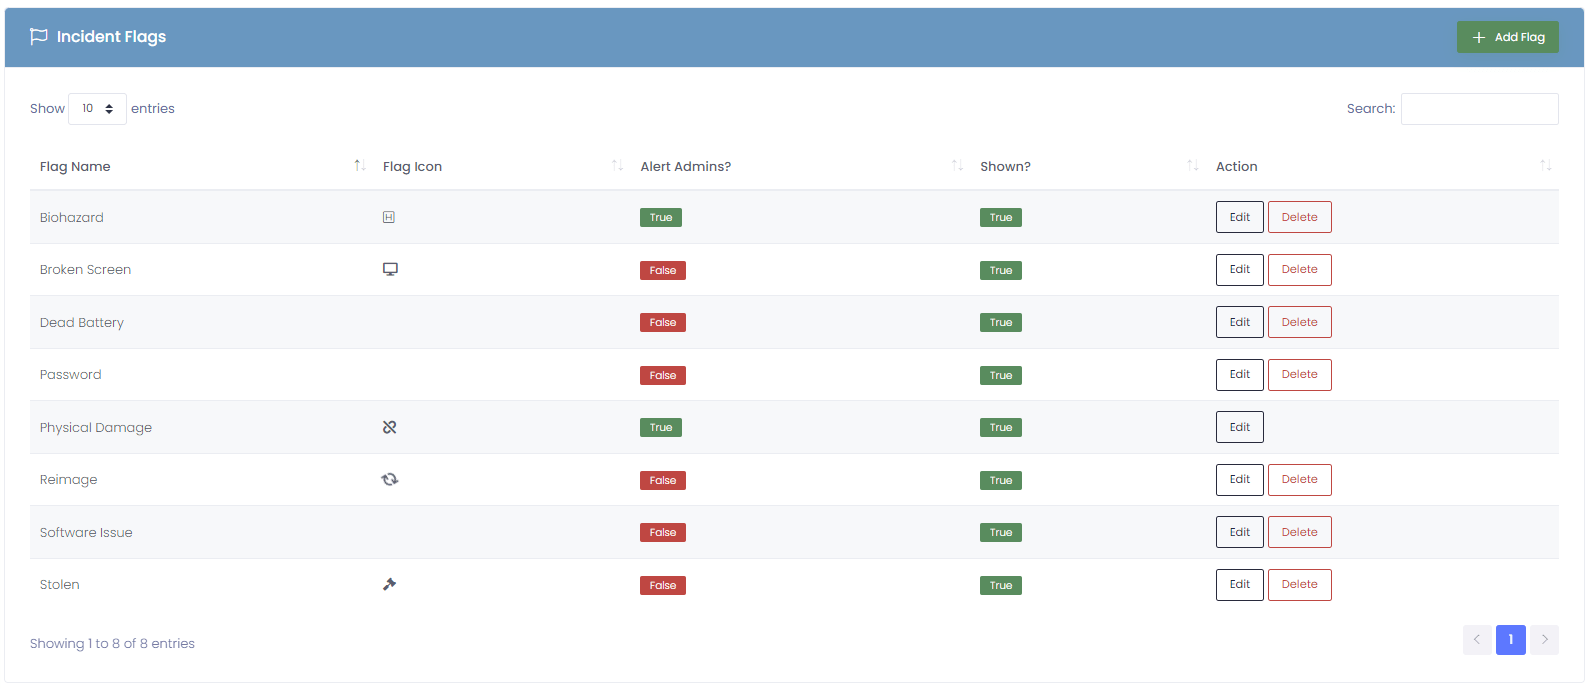
As many reports are based on the “Physical Damage” name, you are not able to delete it. However, you can hide or rename it if you wish to not utilize this flag.
Adding a Flag
To add a new Incident Flag, choose the Add Flag button in the upper right corner of the incident flags box. A window will appear, prompting the creation of a new flag.
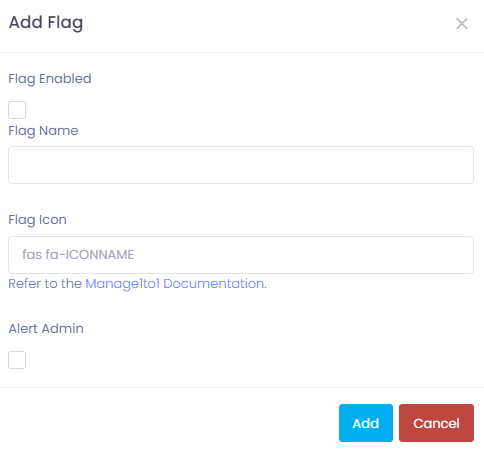
Flag Status: Select this box to display this flag as an option when creating/modifying incidents
Flag Name: Text name of the incident
Flag Icon: FontAwesome Icon Name (See Below)
Alert Admin: Selecting this box will set an alert if this flag is selected by an admin who does not have the “Acknowledge Alerts” permission.
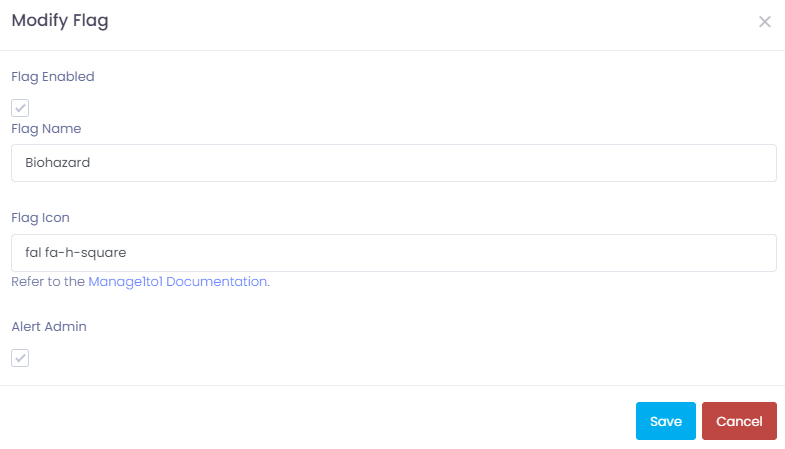
Modifying a Flag
To modify an existing incident flag, choose the Edit button on the row of the flag you wish to edit. A window will appear allowing the edit of the flag.
Deleting a Flag
If you no longer need a flag, you may delete it by pressing the Delete button on the row of the flag you wish to delete.
Icons
Incident Status
Keep track of your incident progress. Manage1to1 comes with a few pre-loaded statuses, but you have have as many or as few as you’d like. Color coordinate for an even easier way to view and organize incidents.

Adding a Status
To add a new incident status, choose the Add Status button in the upper right corner of the incident status box. A window will appear, prompting the creation of a new status.
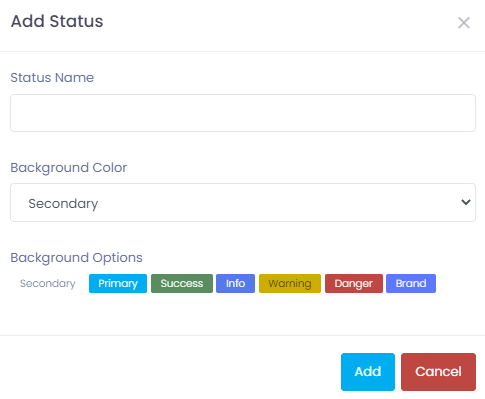
Status Name: Text name of the status
Background Color: The color of the status shown throughout the incidents screens
Background Options: A preview of what the status will look like
Modifying a Status
To modify an existing incident status, choose the Edit button on the row of the status you wish to edit. A window will appear, allowing the edit of the status.

Deleting a Status
If you no longer need a status, you may delete it by pressing the Delete button on the row of the status you wish to delete.