
Manage1to1 offers a robust integration with the Google platform. This includes Single Sign On and Google Device Information Sync.
Google API
There are 2 steps required to setup the Google SSO and an optional third step for the full Google Device Sync function:
- Create a Google Developer Project and Retrieve API Credentials
- Activating Google SSO within Manage1to1
- Authorizing Google Device Sync within Manage1to1
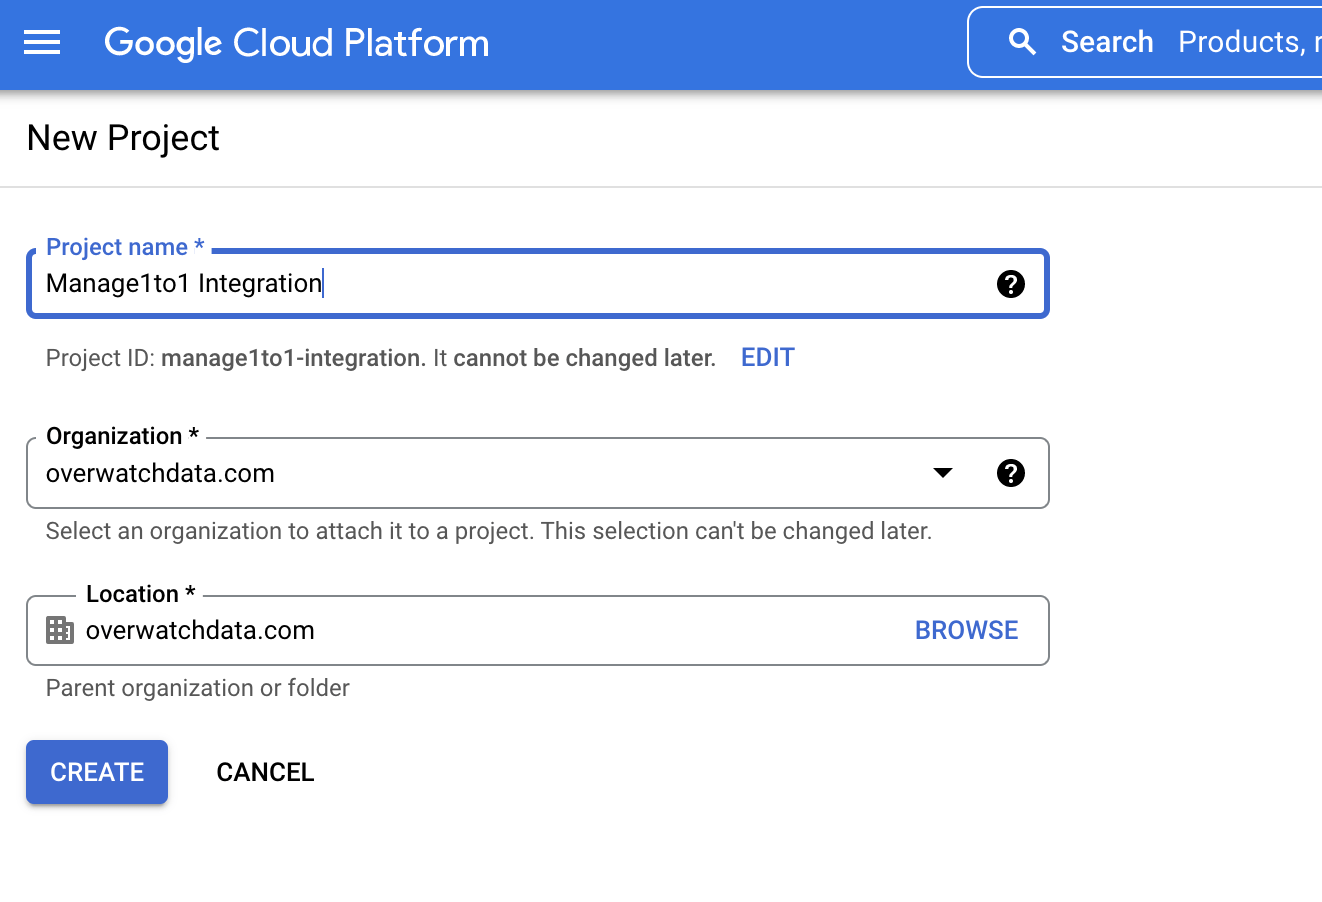
Creating a Google Developer Project and Retrieving API Credentials
Google SSO requires a Google Developer Project and API Credential Set. You may create this using your existing Google account, or create a dedicated user account for this (recommended). Users will only see the App Name you define and not see anything relating to the account you use to create the project.
- Visit https://console.cloud.google.com/
- If not logged in, login to your Google account
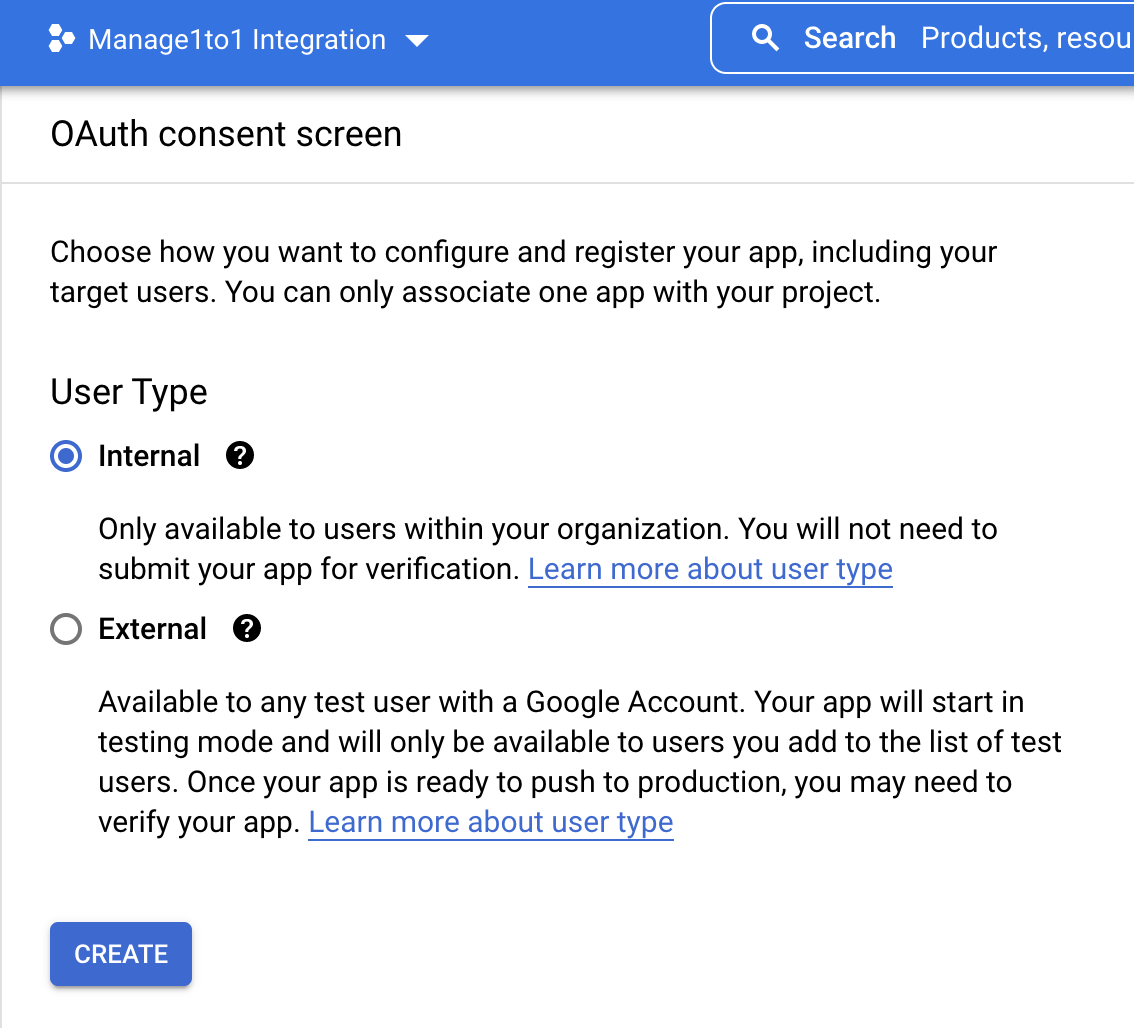
oAuth Consent Screen Configuration
- Click the Configure Consent Screen button.
- Enter an App Name, homepage url (your district homepage) and logo url (the name and logo you define here will be what users see when being asked to authorize access).
- Enter manage1to1.com as the Authorized Domain
- Once complete, click Save & Continue. Make no further changes on the Scopes page, and press Save & Continue once again.
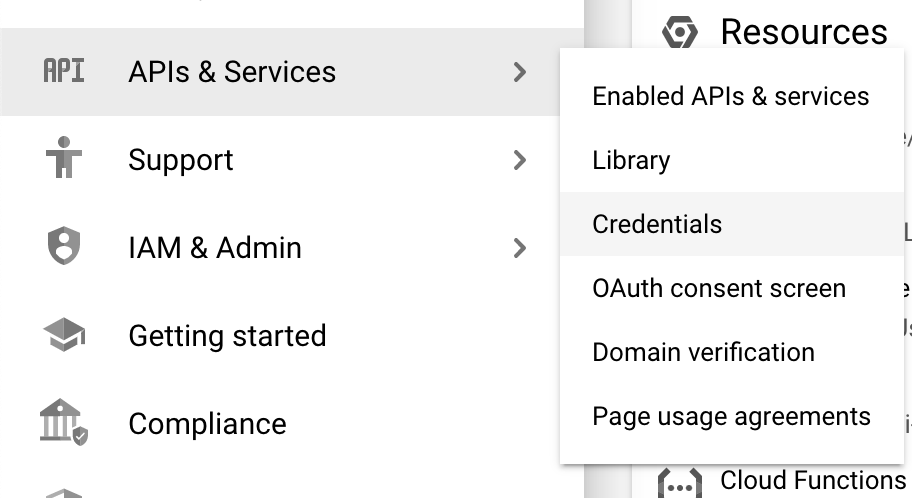
- Choose Credentials on the left sidebar once again.
Continuing Credential Configuration
- From the Credentials screen, select Create credentials > OAuth client ID.
- Choose Web Application, and the screen will populate. Fill the appropriate fields out as shown below:
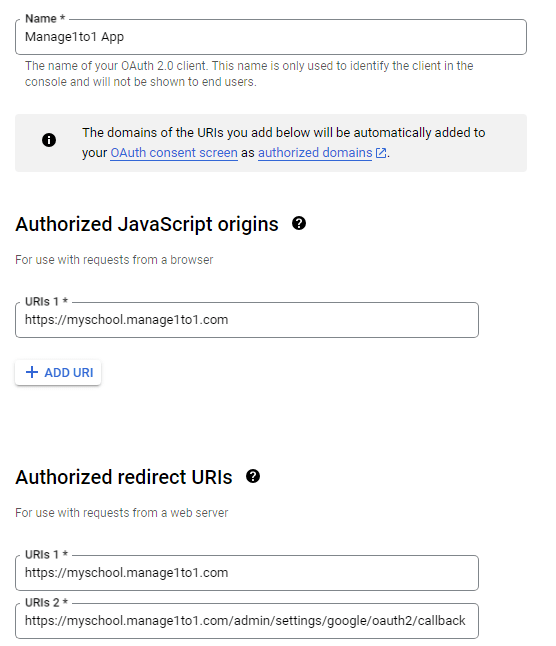
Enter your full URL for Manage1to1 (do not include the /admin) in both the authorized JavaScript origin and redirect URI boxes. In the example here we are using “https://yourschoolurl.manage1to1.com”.
Include the URI “https://yourschoolurl.manage1to1.com/admin/settings/google/oauth2/callback”
Press Create once finished.
- Your Client ID and secret will then be displayed. These are the values you will need to activate Google Sign In within Manage1to1. Please ensure you store these in a safe place.
- (Optional) While logged in, enable the Admin SDK API for the project if you wish to enable Google Device Sync – Instructions Below
- You can now proceed to Activate Google within Manage1to1.
Enabling Admin SDK API
- Visit https://console.cloud.google.com/
- If not logged in, login to your Google account (ensure you are using the account you wish to authorize access to the API in Manage1to1 with)
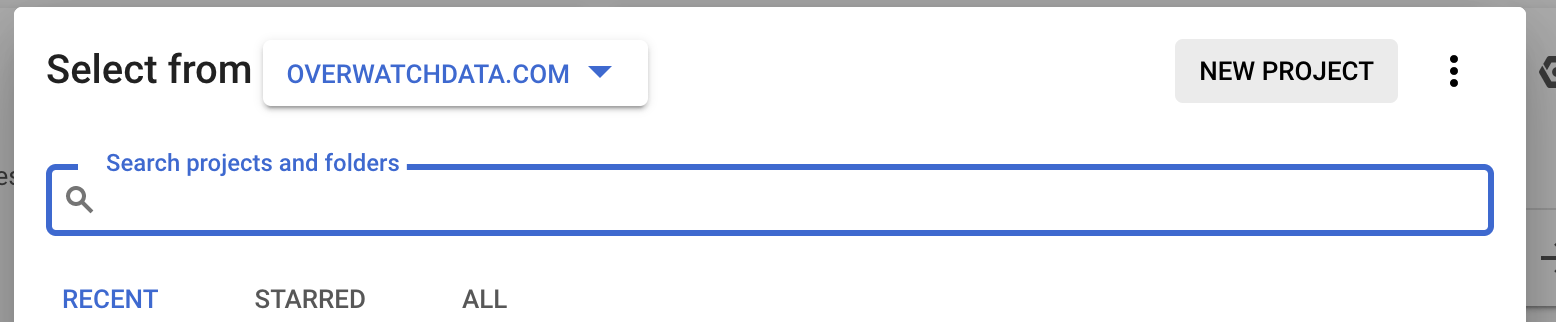
- Under the Project selector, choose the Manage1to1 project you created earlier
- Choose APIs & Services >> Enabled APIs & Services
- Select the ENABLE APIS AND SERVICES button
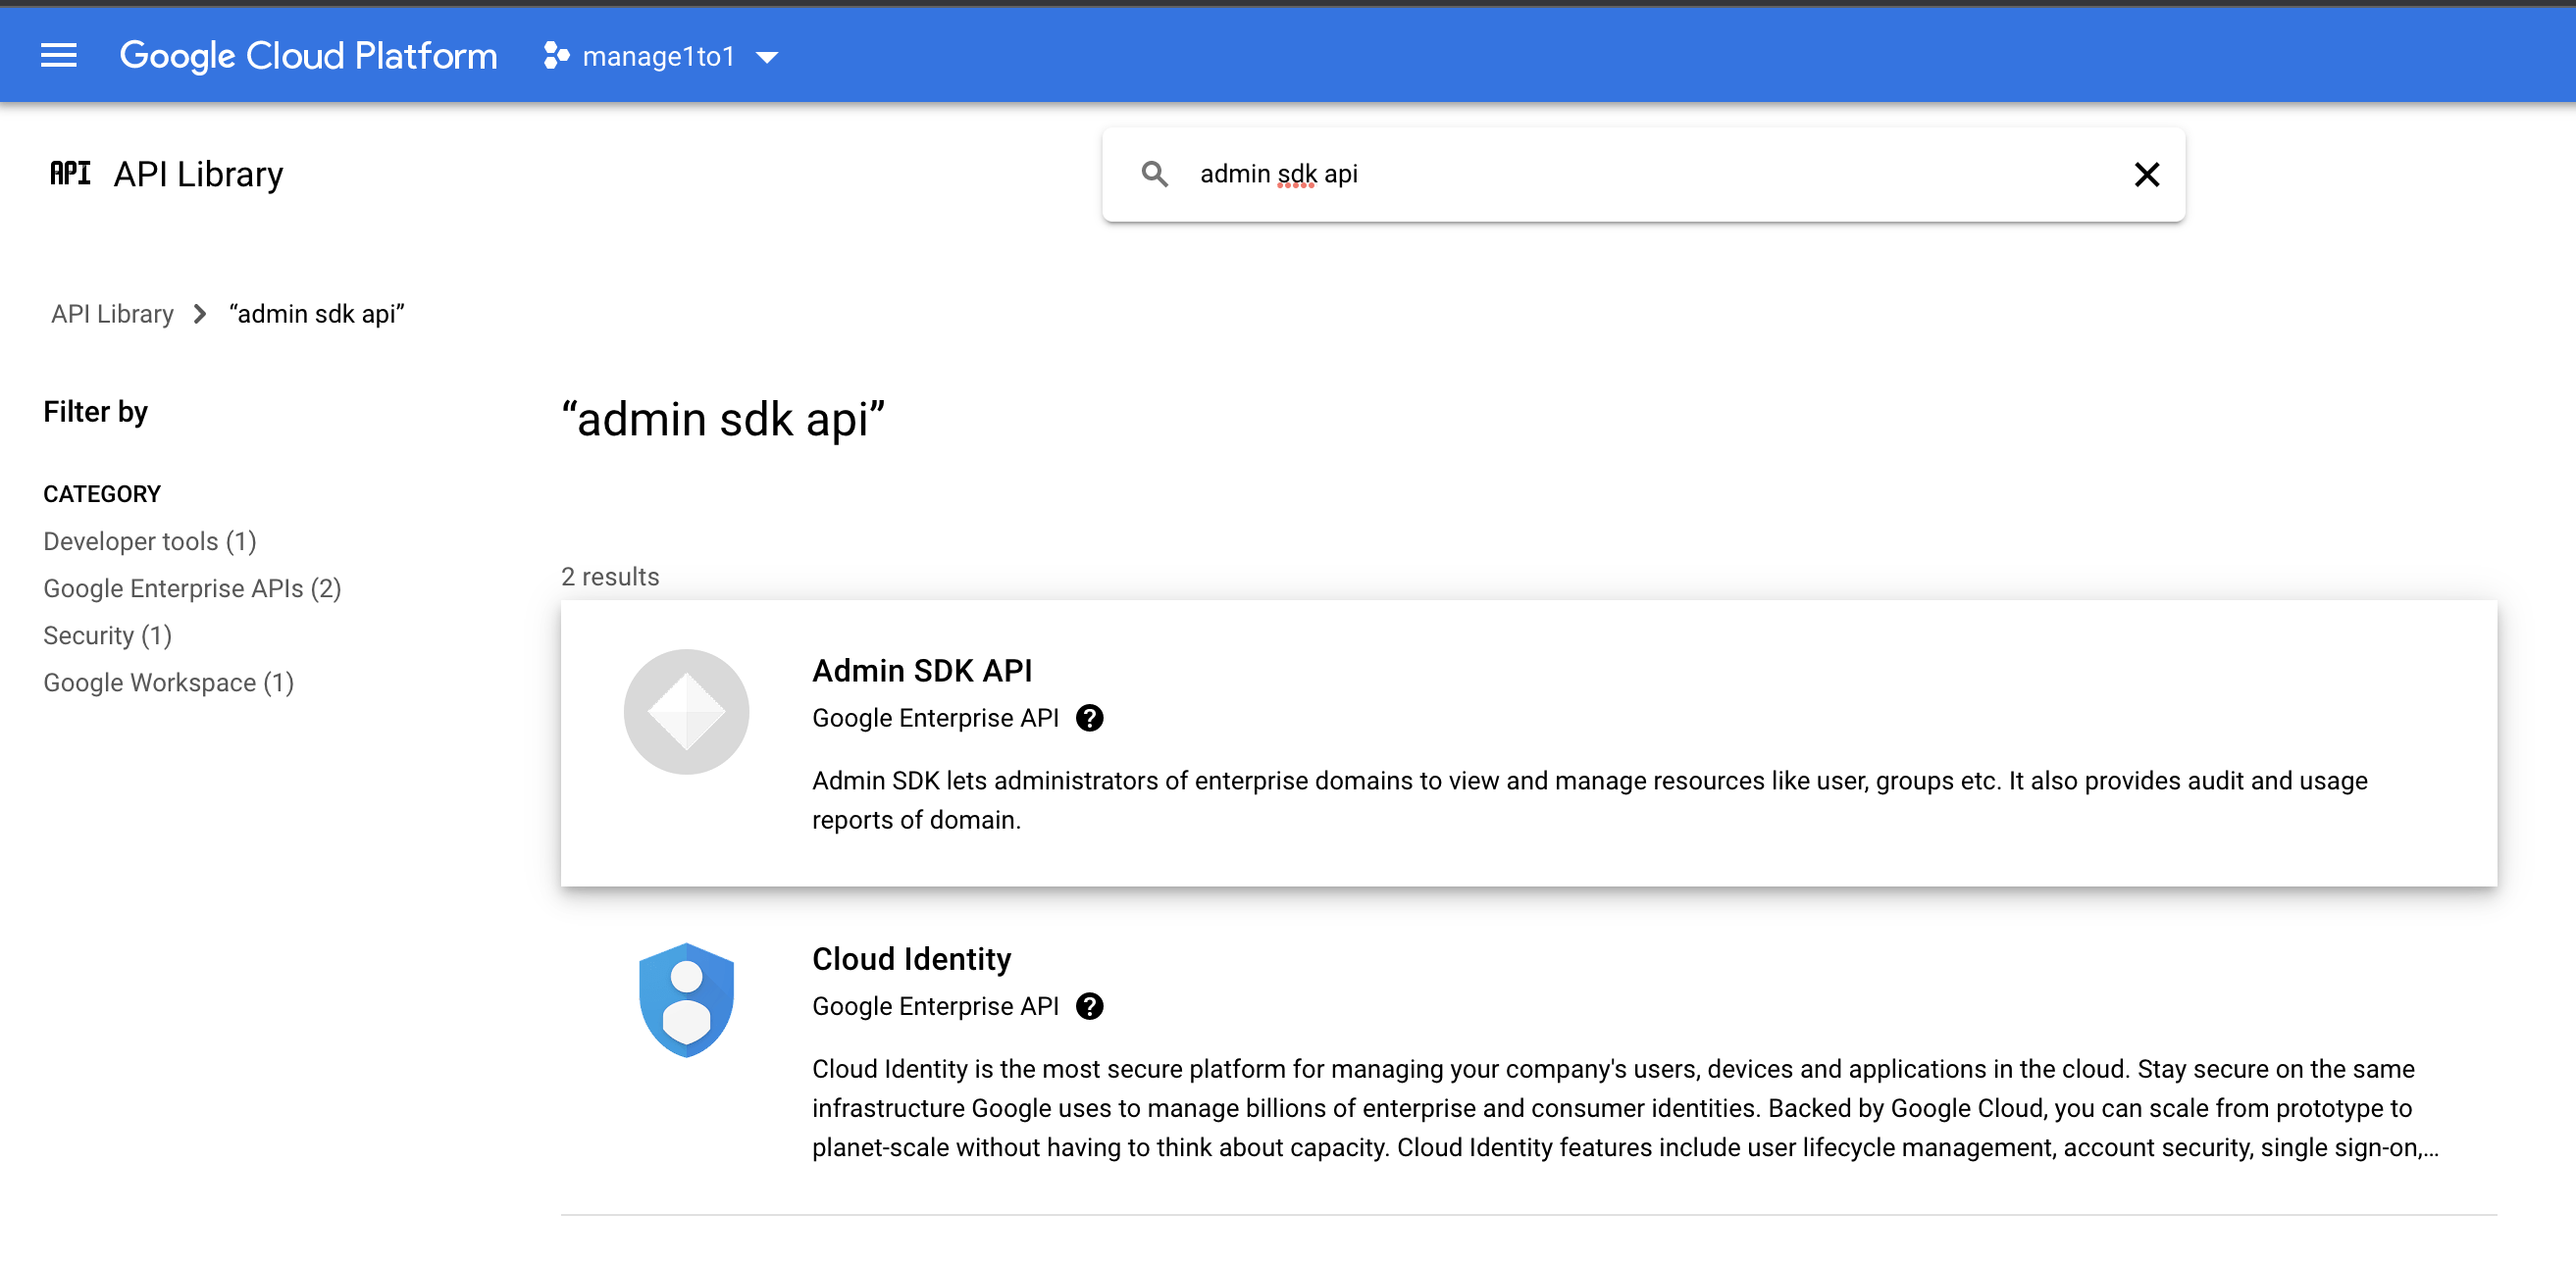
- Press the Enable button
- You will be redirected to a API/Service detail page. This indicates the API was successfully enabled for this project.
- You may now return to Manage1to1 to continue.
Activating the Google API/SSO within Manage1to1
Upon enabling the API, this will enable seamless Google Single Sign-On for Manage1to1. This step is required prior to enabling the Google Device Data Sync
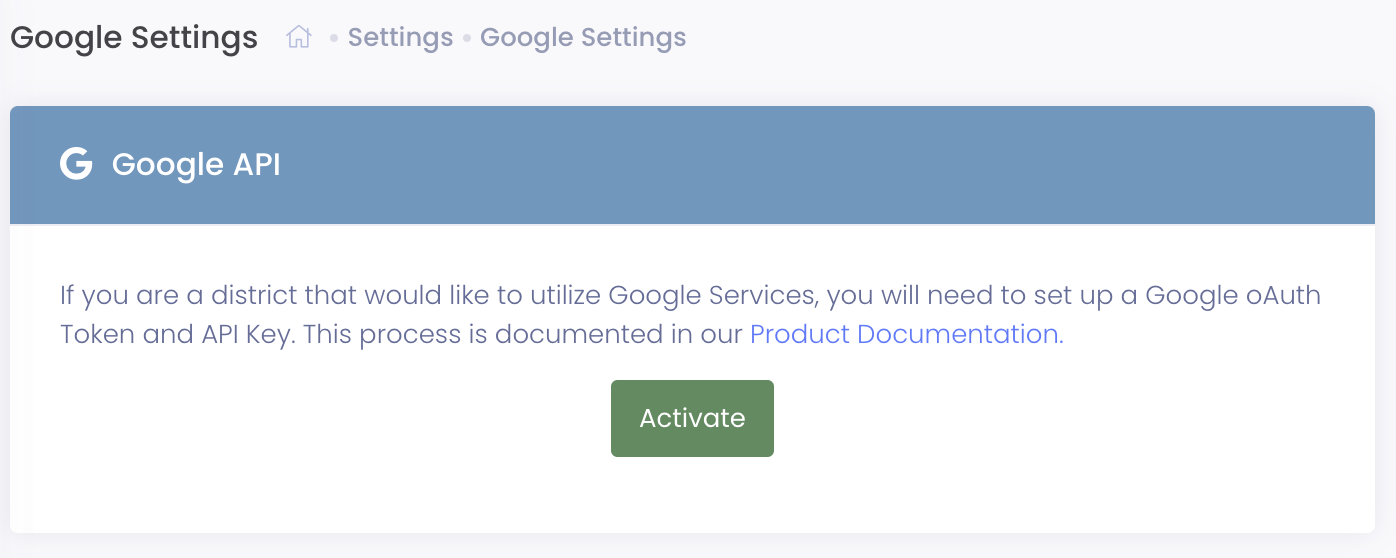
- Navigate to Settings >> Google Settings
- Select the Activate button in the Google API pane
- Enter your Google Client ID and Client Secret in the corresponding boxes
- Click Save, validation will occur prior to saving complete
Authorizing and Enabling Google Device Data Sync
After the above Google API/SSO has been enabled, you must authorize Manage1to1 to access the ChromeOS API and perform the initial data sync.

- Navigate to Settings >> Google Settings
- On the right pane titled Chrome Devices, choose Authorize the application. A popup window will be opened requiring you to login to a Google Administrator account.
- Upon authorization, you can perform an immediate sync by choosing Sync Devices