
Manage1to1 makes it easy to import and update all of your staff.
Preparing the CSV
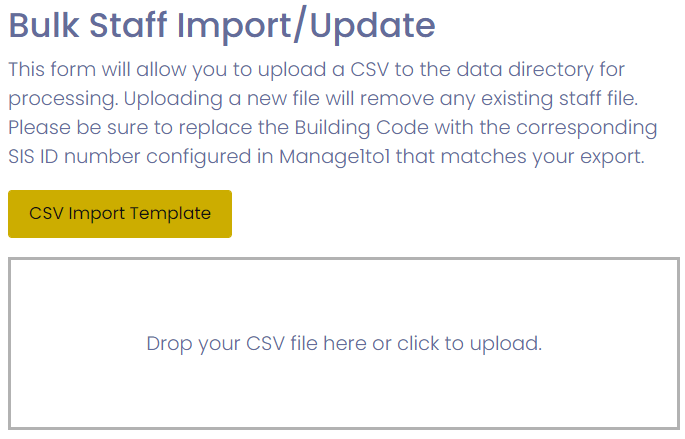
To get started, download the CSV Import Template by clicking on the button with the same title. This will download a pre-made CSV file with the headings needed to get started.

Open the CSV file that was downloaded in your favorite editor. In this example, we will be using Excel. Fill out the columns appropriately. A description of each column is found below:
- Staff ID – This is a unique identification number (commonly assigned in Student Information Systems and on Staff ID Cards) that is used to update/track each staff member in Manage1to1.
- First Name – First Name of the staff member
- Last Name – Last Name of the staff member
- Username – If you are tracking Usernames, enter the username here – otherwise if blank one will be generated in the format of FirstnameLastname
- Password – If you are tracking passwords, enter the password here – otherwise if blank one will be generated
- Email – If you are tracking Staff Emails, enter the single email here – otherwise if blank one will be generated in the format of FirstnameLastname@studentdomain (as Specified in General Settings Tab)
- Building Code – The Building SIS ID corresponding to the building, found on the Building Management Tab
- Position – The staff’s current position (optional)
- Certification – Any technical certifications (optional)
After the CSV is setup properly, be sure to save it as a CSV file somewhere on your computer for use later.
Processing the CSV File
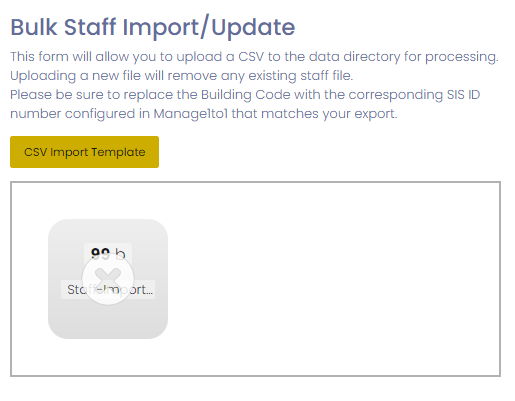
Processing the CSV file is quite simple! We simply need to choose the CSV file you saved in the steps above and drop or click to upload your file in the box.
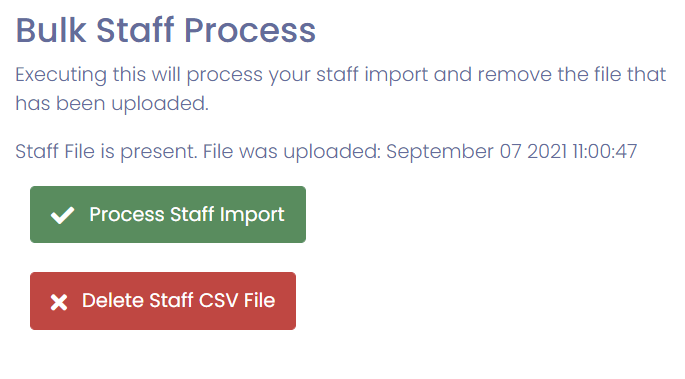
Once uploaded, a column directly next to the Bulk Student Import/Update column will appear, titled Bulk Staff Process. This section displays the file you just uploaded and a timestamp of that file’s upload.
Once you are ready, press Process Student Import
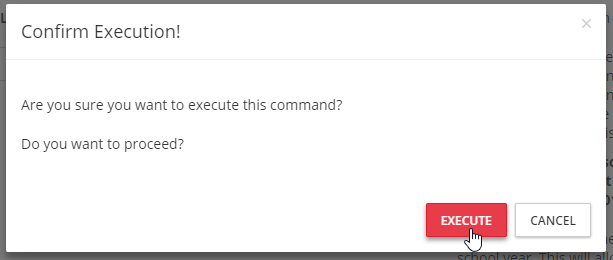
Confirm you wish to process the CSV by pressing Execute
The page will refresh and you will be notified of the status of the import.
Validating a Successful Upload
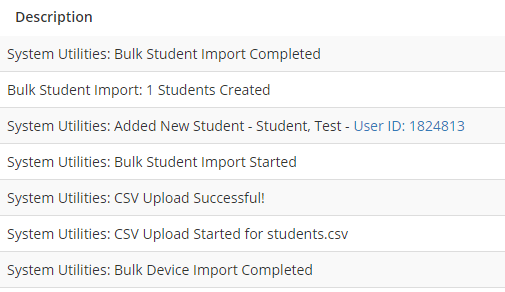
You may review all of the additions and updates made with this upload via the Activity Log page.
Common Questions
I accidentally included students already existing in Manage1to1, what now?
No problem, in this case the students will simply be updated with the latest information contained in that student file.
What happens if I have a duplicate Local ID?
Local ID’s (student IDs) are unique to each student and should not be duplicated. Because of this, it is a unique value within Manage1to1 as well. Uploading a student with the same local ID would simply update the data to reflect the CSV file.
I do not want to load in my own students, can you do it for me?
Absolutely! We offer a “turn-key” package to get your devices, students, and system setup and configured. Please reach out to your Sales Rep for further information on adding this to your Manage1to1 plan!