Device Information Tab
The Device Information tab is the first thing you see when you open a device profile. It's the "home screen" for the device - showing all the core details, who currently has it, and any active problems that need attention.
This tab is organized into three main sections that give you a complete picture of the device's current state.
To view device information, you need the View Devices permission assigned to your administrator role.
Additional permissions may be required for specific actions:
- Edit Devices - To modify device details
- Manage Device Cases - To manage protective cases (if enabled)
- Manage Insurance - To manage insurance information (if enabled)
Device Information Section
This section shows all the technical details and specifications for the device. It's laid out in two columns to make it easy to scan.
What You'll See
Left Column:
- Brand: The manufacturer (Apple, HP, Lenovo, etc.)
- Serial #: The unique manufacturer serial number for this specific device
- Category: The asset category this device belongs to, shown as a breadcrumb if the category is nested under a parent. For example, a Chromebook nested under Laptop displays as "Laptop / Chromebook" so the full hierarchy is visible at a glance. Categories are managed under Settings → Inventory → Categories.
Right Column:
- Model: The specific model name (iPad Air 5th Generation, Chromebook 14 G6, etc.)
- Asset Tag: Your school's inventory tracking number
Last Seen
Below the standard device information, the Last Seen row shows the most recent time an admin physically interacted with the device — through a check-in, check-out, incident log, or cart-room move. The row displays a relative timestamp ("2 days ago"), the admin who performed the action, and a small color-coded badge indicating which type of action it was.
If a device has never been touched through one of those workflows, this row reads "No physical touches recorded yet" in muted text.
Last Seen is your built-in answer to "when was this device last actually in someone's hands?" — useful for end-of-year inventory sweeps, dormant-device investigations, and lost-device follow-up. There's also a dedicated Device Last Seen report that lets you sort and filter every device across the district by this metric.
Custom Fields
Below the standard device information, you'll see any custom fields your district has configured. These fields are specific to your organization's needs and might include things like:
- Grant or funding source
- Home location (cart number, classroom, room assignment)
- Protective case type or color
- Purchase order number
- Warranty information
- Network information
Custom fields appear in the same two-column layout and only show up if they have values entered. If a custom field is empty, it won't appear on this page.
Custom fields are configured by your system administrator in Settings > System Settings > Custom Fields Tab. These allow your district to track additional information specific to your needs without modifying the core system.
Editing Device Information
At the top right of the Device Information section, you'll see an Edit button (if you have the appropriate permission).
To edit device details:
- Click the Edit button
- The page will switch to edit mode showing all fields
- Make your changes to any editable field
- Click Save to commit your changes
- The page will return to view mode with updated information
Common fields you might edit:
- Status (Available, Active, Lost, etc.)
- Building assignment
- Operating system version
- Custom field values
- Serial number or asset tag (if corrections are needed)
To edit device information, you need the Edit Devices permission assigned to your administrator role. If you don't see the Edit button, you don't have permission to modify device records. Contact your system administrator if you need this capability.
Cloning (Duplicating) a Device
When you're adding several near-identical devices — same model, purchase order, acquisition date, and building — you can clone an existing device instead of re-entering all of that. Cloning copies the shared details into a new device and drops you straight onto its edit form to set the one-of-a-kind values.

To clone a device:
- Open the device you want to copy
- In the Device Information section header, click Clone
- Confirm on the prompt
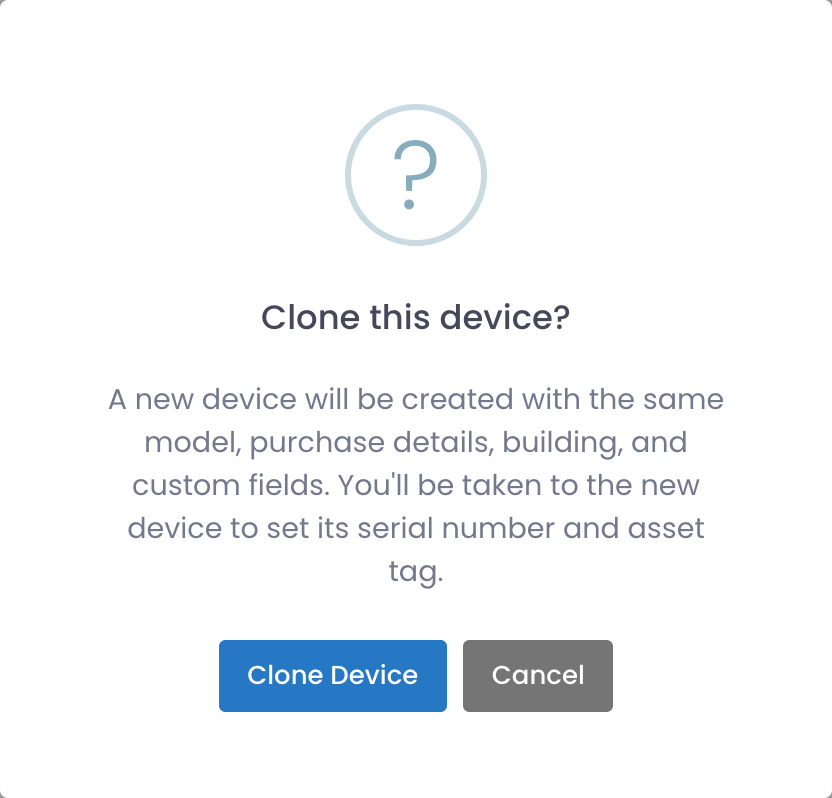
- You're taken to the new device's edit form. Its serial number and asset tag are filled with a temporary
CLONE-…placeholder — replace both with the new device's real values. - Adjust anything else that differs, then click Save
What's copied: device model, purchase date, status, building, loaner setting, and the device's custom fields (such as a PO number or original cost).
What's not copied: the serial number and asset tag (these are unique to each device, so you set them on the new record), along with any device-specific history — check-outs, incidents, notes, and MDM data all stay with the original device.
Cloning creates a new device and opens it for editing, so it requires both the Add Devices and Edit Devices permissions. If you don't see the Clone button, your role is missing one of them.
MDM Information Section
If your device is enrolled in a Mobile Device Management (MDM) system that Manage1to1 is connected to, you'll see an MDM Information section on this tab. This section displays key device data pulled directly from your MDM provider.
What You'll See
The MDM Information section shows the most useful fields from your MDM system, formatted for quick reference. The specific fields depend on which MDM provider you use:
Google Devices (ChromeOS):
- Org Unit - The device's location in your Google Admin organizational structure
- Last Sync - When the device last communicated with Google (shown as relative time like "2 hours ago")
- OS Version - Current ChromeOS version
- Support Until - Auto-update expiration date for the device
- Storage Used - How much storage is in use
- Boot Mode - Current boot mode (Verified, Developer, etc.)
JAMF Pro (macOS/iOS):
- Device Name - The device name as shown in JAMF
- Last Check-In - When the device last communicated with JAMF
- OS Version - Current operating system version
- Storage Used - Storage capacity and usage
- Management Status - Whether the device is actively managed
- FileVault Status - Encryption status (Mac computers only)
JAMF School (Education):
- Device Name - The device name in JAMF School
- Last Check-In - Last communication time
- OS Version - Current operating system version
- Device Type - iPad, Mac, iPhone, etc.
- Storage - Storage capacity and usage
- Battery - Current battery percentage (where available)
Visual Progress Bars
Storage and battery fields display as color-coded progress bars for quick visual assessment:
Storage usage colors:
- Green - Healthy storage levels (less than 75% used)
- Yellow - Storage getting full (75-90% used)
- Red - Critical storage levels (over 90% used)
Battery level colors:
- Green - Good charge (above 25%)
- Yellow - Getting low (10-25%)
- Red - Critical battery (below 10%)
These visual indicators help you quickly spot devices that may need attention without reading through detailed numbers.
View Full Details
The MDM Information section header includes a View Full Details button. Clicking this opens a popup window with the complete MDM data for the device, including fields not shown in the summary view.
This is useful when you need to see everything your MDM knows about the device, such as installed apps, configuration profiles, or detailed hardware specifications.
The MDM Information section only appears if:
- Your district has configured an MDM provider in
System Settings > MDM Settings - The device has been matched and synced with records in your MDM system
- The device serial number in Manage1to1 matches the serial number in your MDM
If you don't see this section, the device either isn't enrolled in your MDM or hasn't been synced yet.
Current Checkout Section
This section shows who currently has the device - whether it's checked out to a user, assigned to a cart, or available.
When a Device is Checked Out to a User
If the device is assigned to a student or staff member, you'll see:
- The user's full name
- Their user type (Student or Staff)
- When they received the device (checkout date)
- A View User button to open their user profile
Example display:
John Doe (Student)
Checked out: 08/15/2024
Click the View User button to jump directly to that person's user profile where you can see all their information, assigned devices, and history.
When a Device is Checked Out to a Cart
Some districts use Manage1to1 to track carts of shared devices (like mobile laptop carts or iPad charging carts). If the device is assigned to a cart, you'll see:
- The cart name
- When it was added to the cart
- A View Cart button to see all devices in that cart
Example display:
English Department Cart A
Checked out: 09/01/2024
This is useful for tracking classroom sets or shared device pools.
When a Device is Available
If the device isn't currently assigned to anyone, this section will show:
This device is not currently checked out.
This means the device is available in your inventory and can be assigned to a user.
The Current Checkout section is one of the fastest ways to answer "who has this device?" You don't have to dig through history or reports - if someone currently has it, they're shown right here with a direct link to their profile.
Current Incidents Section
This section lists any active (unresolved) incidents for the device. These are problems that have been reported but not yet marked as completed.
Think of this as the device's "open tickets" - repairs in progress, reported damage waiting to be assessed, or technical issues being investigated.
What the Table Shows
The Current Incidents table displays:
| Column | What It Shows |
|---|---|
| Date | When the incident was reported |
| Asset Tag | The device's asset tag (for quick identification) |
| Date Finished | When the incident was resolved (empty if still open) |
| Incident Status | Current state (Pending, In Progress, Awaiting Parts, etc.) |
| Incident Type | Category of problem (Screen Damage, Battery Issue, etc.) |
| Action | Buttons to view or modify the incident |
Understanding Incident Statuses
Incident statuses track where a repair or issue stands in your workflow. Common examples include:
- Pending: Incident reported but repair work hasn't started yet
- In Progress: Currently being worked on
- Awaiting Parts: Repair paused waiting for replacement components
- Complete: Resolved and finished (won't show in Current Incidents)
Your district can customize these statuses in Settings > System Settings > Incidents Tab to match your repair workflow.
When No Current Incidents Exist
If the device has no open incidents, the table will be empty with a message like:
No current incidents found.
This is a good thing - it means the device has no known active problems!
Viewing Incident Details
Click the View button in the Action column to see complete details about an incident, including:
- Full description of the problem
- Photos of damage
- Repair history and notes
- Parts used
- Cost information
- Complete incident log
This opens the incident profile page in a new view.
Why Current Incidents Matter
This section helps you quickly identify:
- Devices with ongoing issues: If you're about to check out a device, you can see if it has open repairs
- What problems are being worked on: Understand the current state without searching through history
- Devices that might not be available: A device might show as "Active" in status but have repairs in progress
A device's status (shown in the snapshot sidebar) and its current incidents are different things. A device might be marked as "Active" but still have an open incident. Always check both the status and current incidents before assigning a device to a user!
Common Scenarios Using This Tab
Scenario 1: Quick Device Lookup
A teacher calls asking about the device with asset tag "12345":
- Search for the device and open its profile
- The Device Information tab loads automatically
- You can immediately see: Brand, model, serial number, and who currently has it
- Answer their question in seconds without navigating anywhere else
Scenario 2: Checking Device Availability
You need to find a device to give to a new student:
- Find an available device from the device list
- Open the device profile
- Check Current Checkout - confirms it's not assigned
- Check Current Incidents - make sure there are no open repairs
- Verify device details in the Device Information section
- Device is good to go - proceed with checkout
Scenario 3: Troubleshooting a Problem
A student reports their device isn't working properly:
- Look up their device and open the profile
- Check Current Incidents to see if there's already a reported problem
- Review Device Information to confirm model and specifications
- Click Edit to update the status if needed
- Create a new incident if this is a new problem
Scenario 4: Verifying Device Information
During a physical inventory check:
- Scan or enter the asset tag to open the device profile
- Compare the Serial # on screen with the physical device
- Verify the Brand and Model match what you're holding
- Update any incorrect information using the Edit button
- Move on to the next device
Editing Best Practices
When editing device information, keep these tips in mind:
✅ Do:
- Verify serial numbers carefully - they're critical for warranty and MDM enrollment
- Update the device status when conditions change (Available → Active when checked out)
- Fill in custom fields while you have the device in hand
- Double-check asset tags to ensure they're unique
❌ Don't:
- Change building assignments without understanding the permission implications
- Modify model information unless it was entered incorrectly
- Skip verifying changes before saving
- Edit fields you're unsure about - ask first
Tips and Tricks
Quick Edits
If you only need to change one or two fields, the Edit mode makes it fast:
- Click Edit
- Make your change
- Click Save
- You're back to viewing in seconds
Understanding the Data Flow
The Device Information tab pulls data from several sources:
- Core device fields: Serial, asset tag, status (entered when the device was added)
- Model information: Brand, model, type (comes from the device type settings)
- Current checkout: Live data showing active assignments
- Current incidents: Real-time query of open incident records
This means the information is always current - you're seeing the latest state of the device.
Custom Field Organization
If you have many custom fields, they can make this section long. Talk to your system administrator about:
- Which custom fields are really necessary
- Whether some fields should be hidden from the profile view
- Grouping related fields together
Common Questions
Q: Why don't I see the Edit button? You need the Edit Devices permission to modify device records. Check with your system administrator about your role permissions.
Q: Can I delete a device from this page? Device deletion is a separate action with its own permission (Delete Devices) and isn't done from the Device Information tab. This is intentional - deleting devices is a serious action that's kept separate from routine editing.
Q: What's the difference between the snapshot sidebar and this tab? The snapshot shows just the critical highlights. The Device Information tab shows complete details including custom fields, edit capabilities, current checkout details, and current incidents.
Q: Why do some custom fields not appear? Custom fields only display if they have values entered. Empty custom fields are hidden to keep the interface clean. Also, administrators can mark custom fields as "hidden" which prevents them from showing on the profile.
Q: How often does the current checkout information update? It's live - whenever a device is checked out or returned, this section reflects the change immediately. No refresh needed.
Q: Can I see who had the device before the current user? The Current Checkout section only shows the active assignment. For historical information, use the Checkout History tab, which shows every person who's ever had the device.
Next Steps
The Device Information tab gives you the "right now" view of a device. To understand its history and patterns, explore the other tabs:
- Checkout History - Every assignment over time
- Incident History - All repairs and problems, both current and resolved
- Activity Log - Complete audit trail of every change
Together, these tabs paint a complete picture of the device's lifecycle in your 1:1 program!